

Waves are one of the most powerful elements in seascape photography. They bring life, movement, and emotion into an image. Personally, this is something I love the most — using waves not just as background, but as a storytelling tool.
In this image, the waves are not just water… they become leading lines, energy, and texture all at once.
But here’s the key question:
How do you control how waves look in your photo?
It all comes down to shutter speed — and how you use filters to achieve it.
Understanding Wave “Painting”
Think of waves like brush strokes on a canvas.
- Slow shutter = soft, dreamy brush
- Mid shutter = texture and motion
- Fast shutter = frozen energy
Let’s break it down.
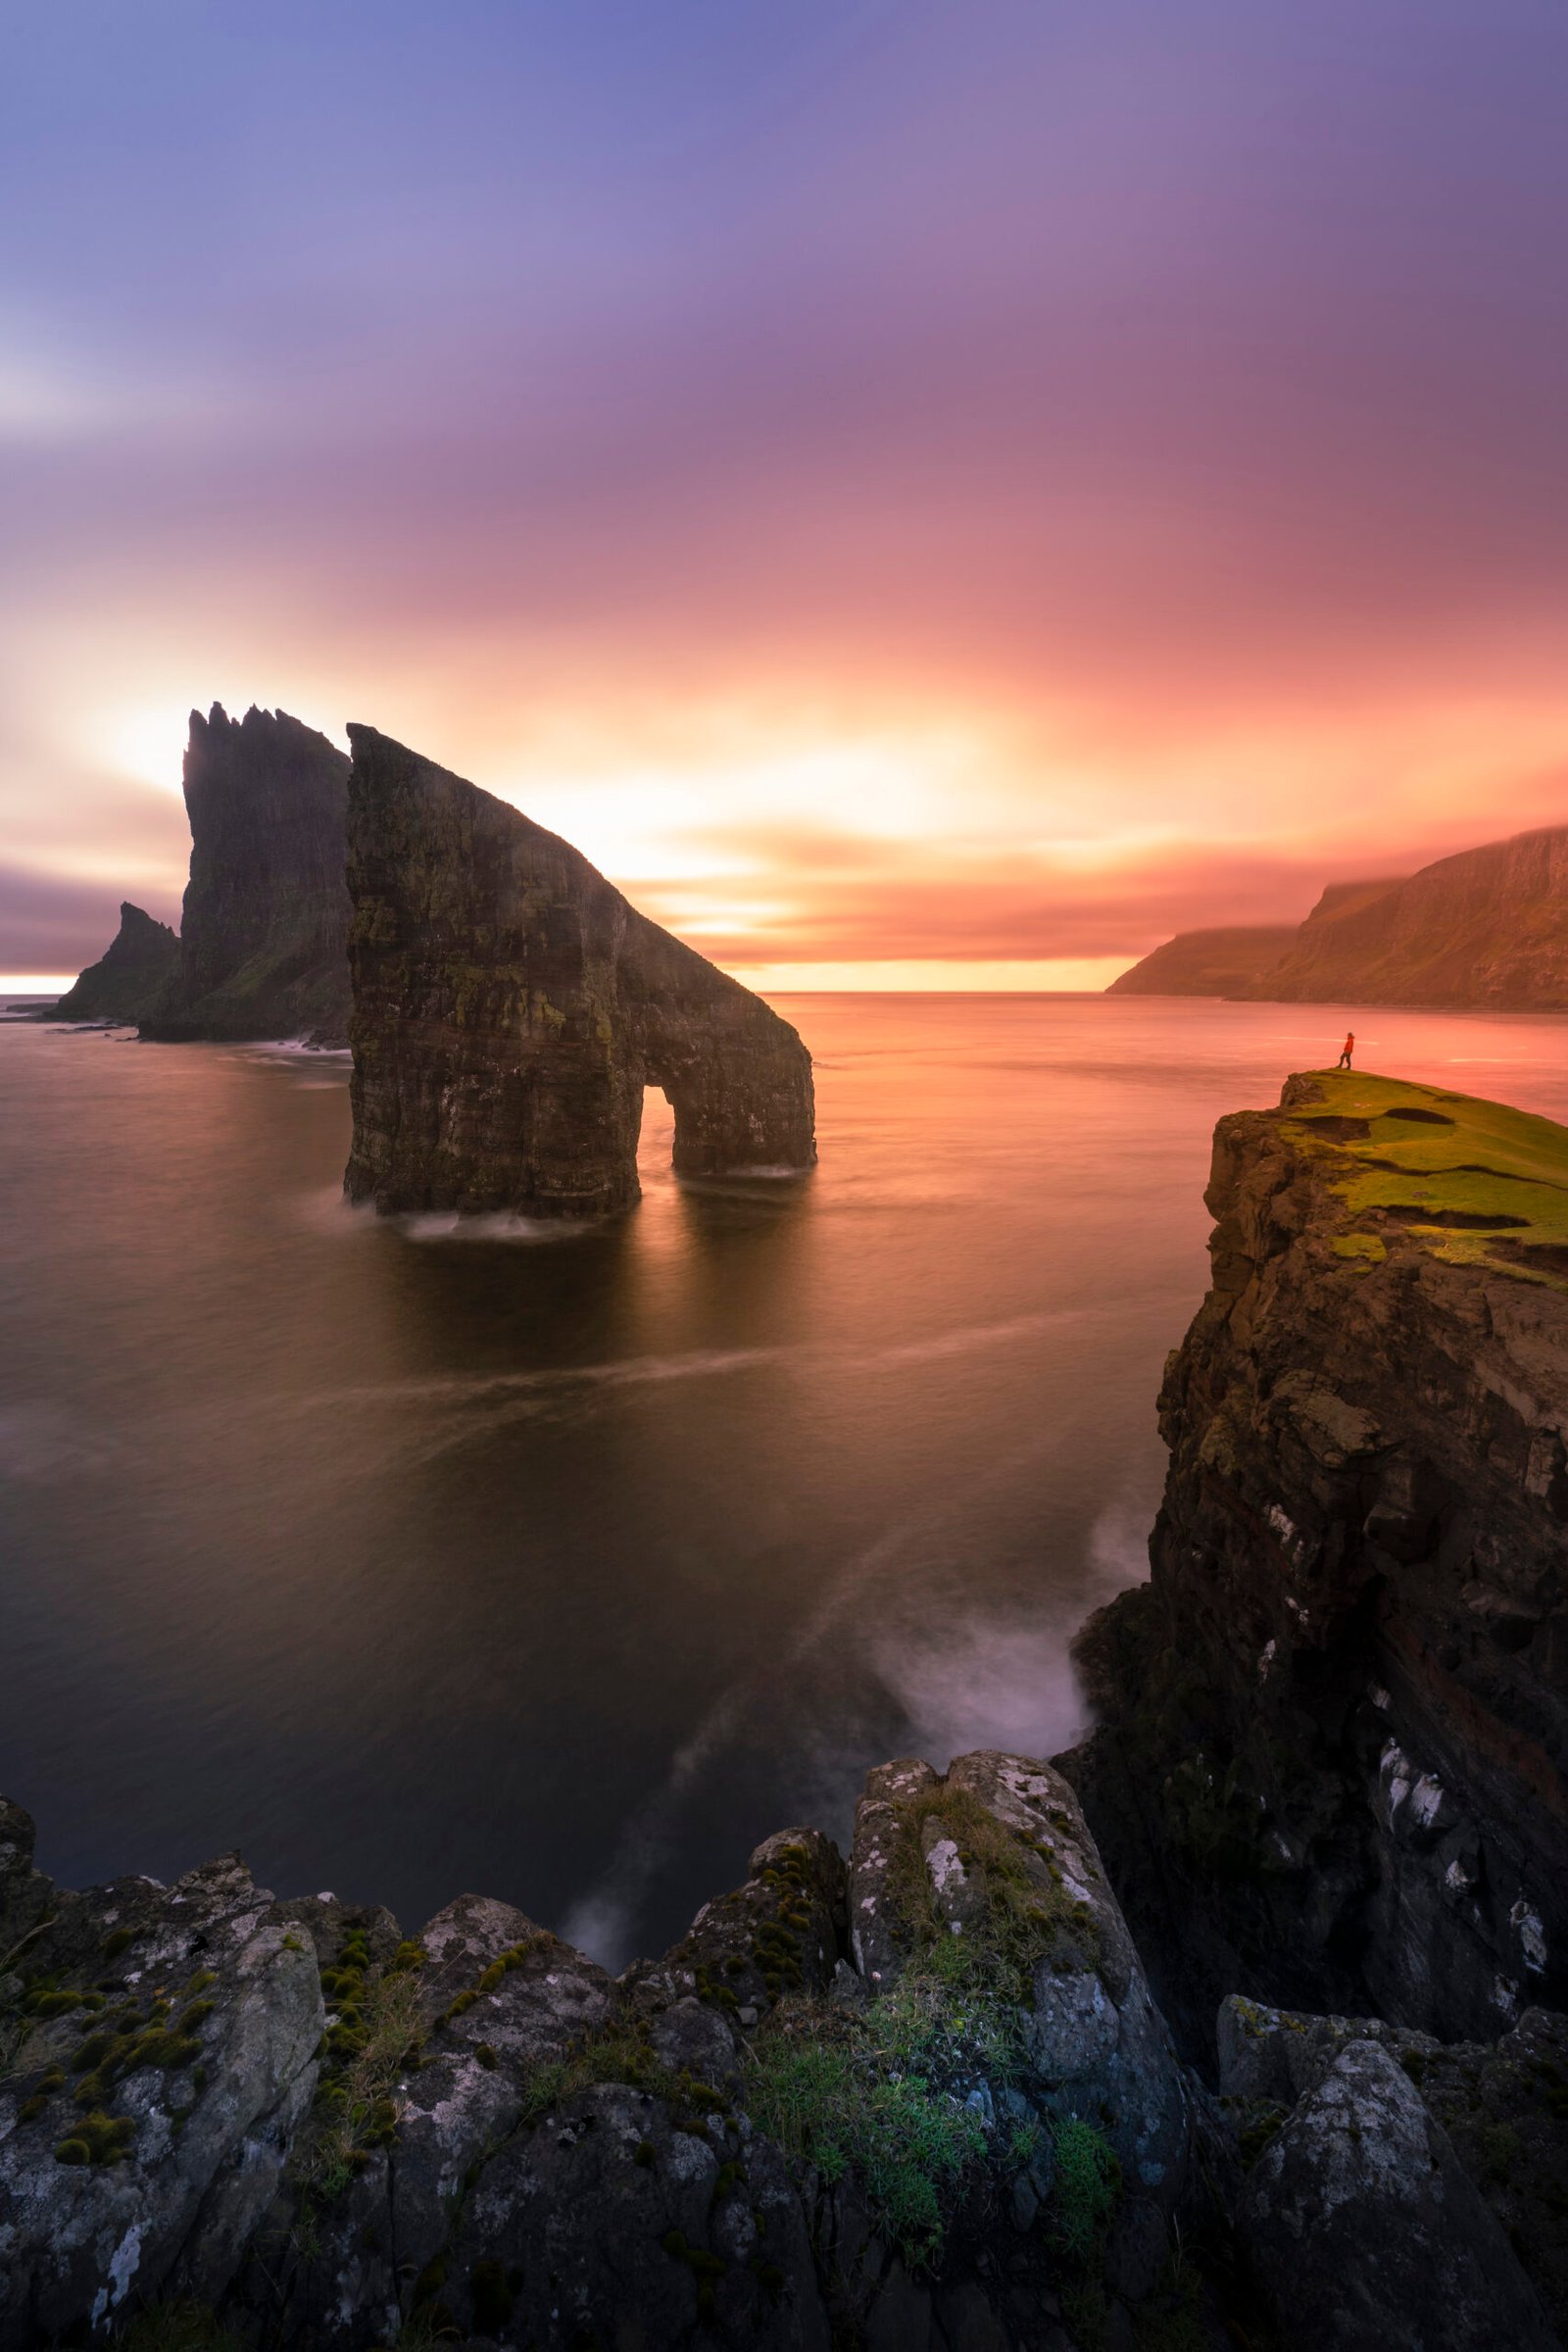
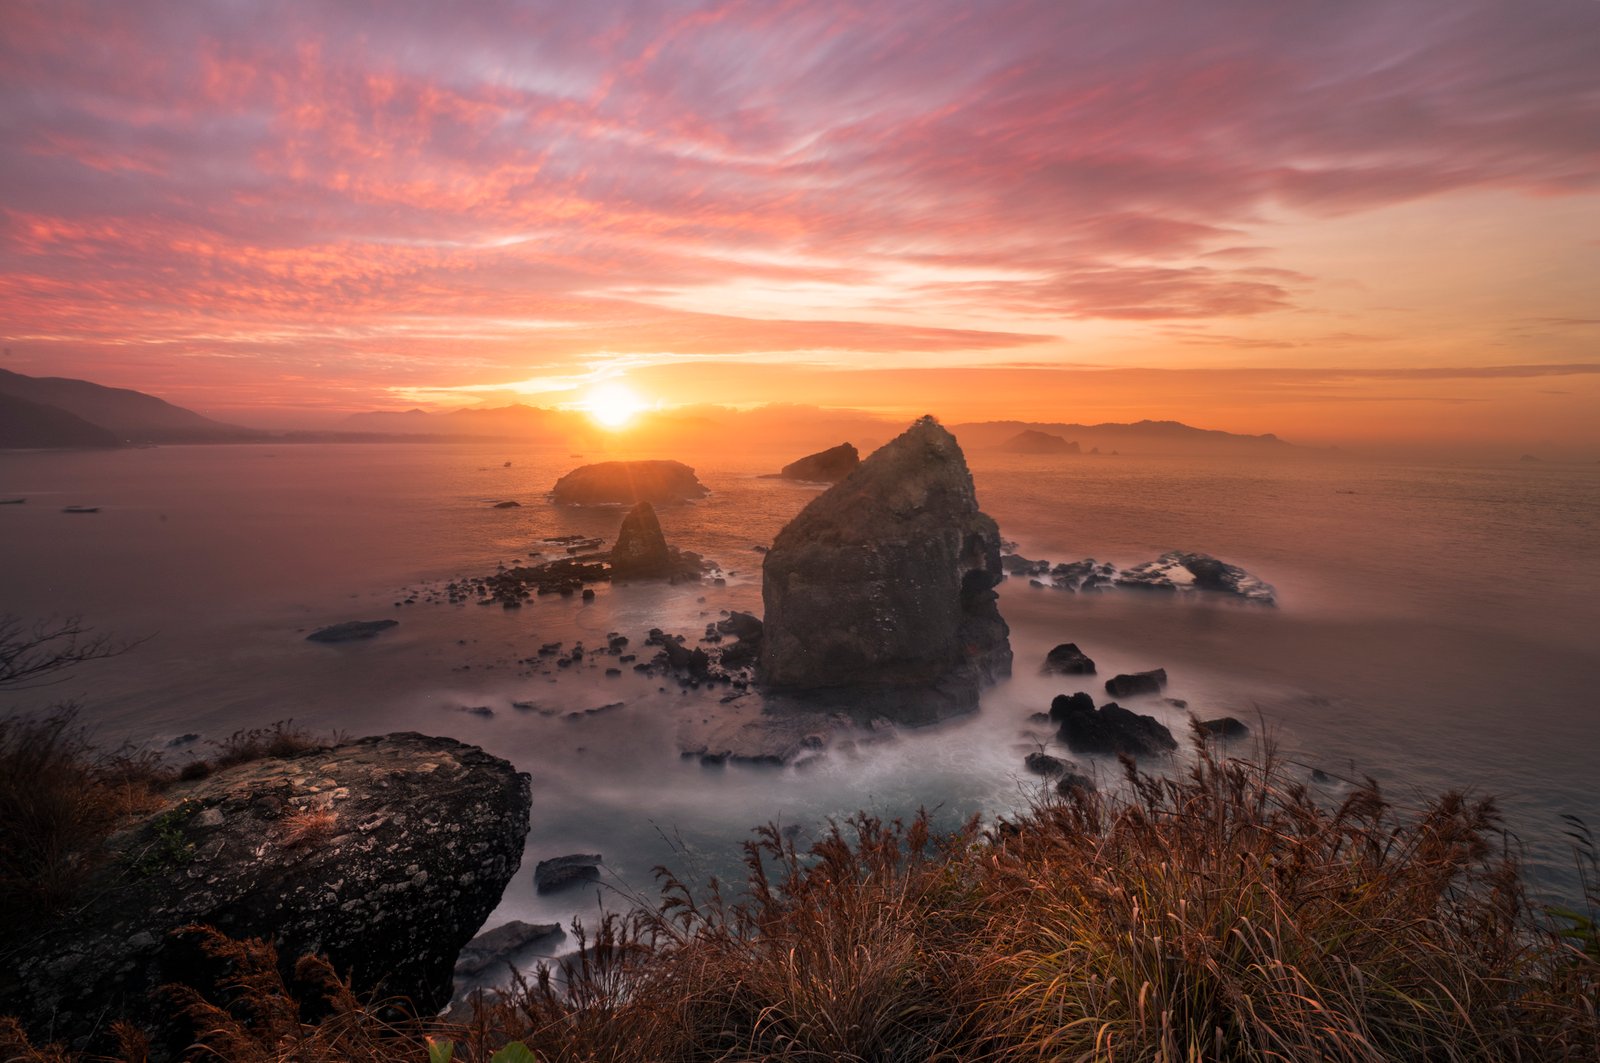
1. Slow Shutter (Dreamy & Flowing)
Shutter speed: ~1 sec to 30 sec
This creates that soft, misty, almost “fog-like” water.
When to use:
- Calm, peaceful mood
- Minimalist compositions
- Sunrise or sunset scenes
What happens:
The waves blur together, removing harsh details and simplifying the scene.
👉 In images like this, the water becomes a smooth base that allows your subject (like the boat) to stand out beautifully.
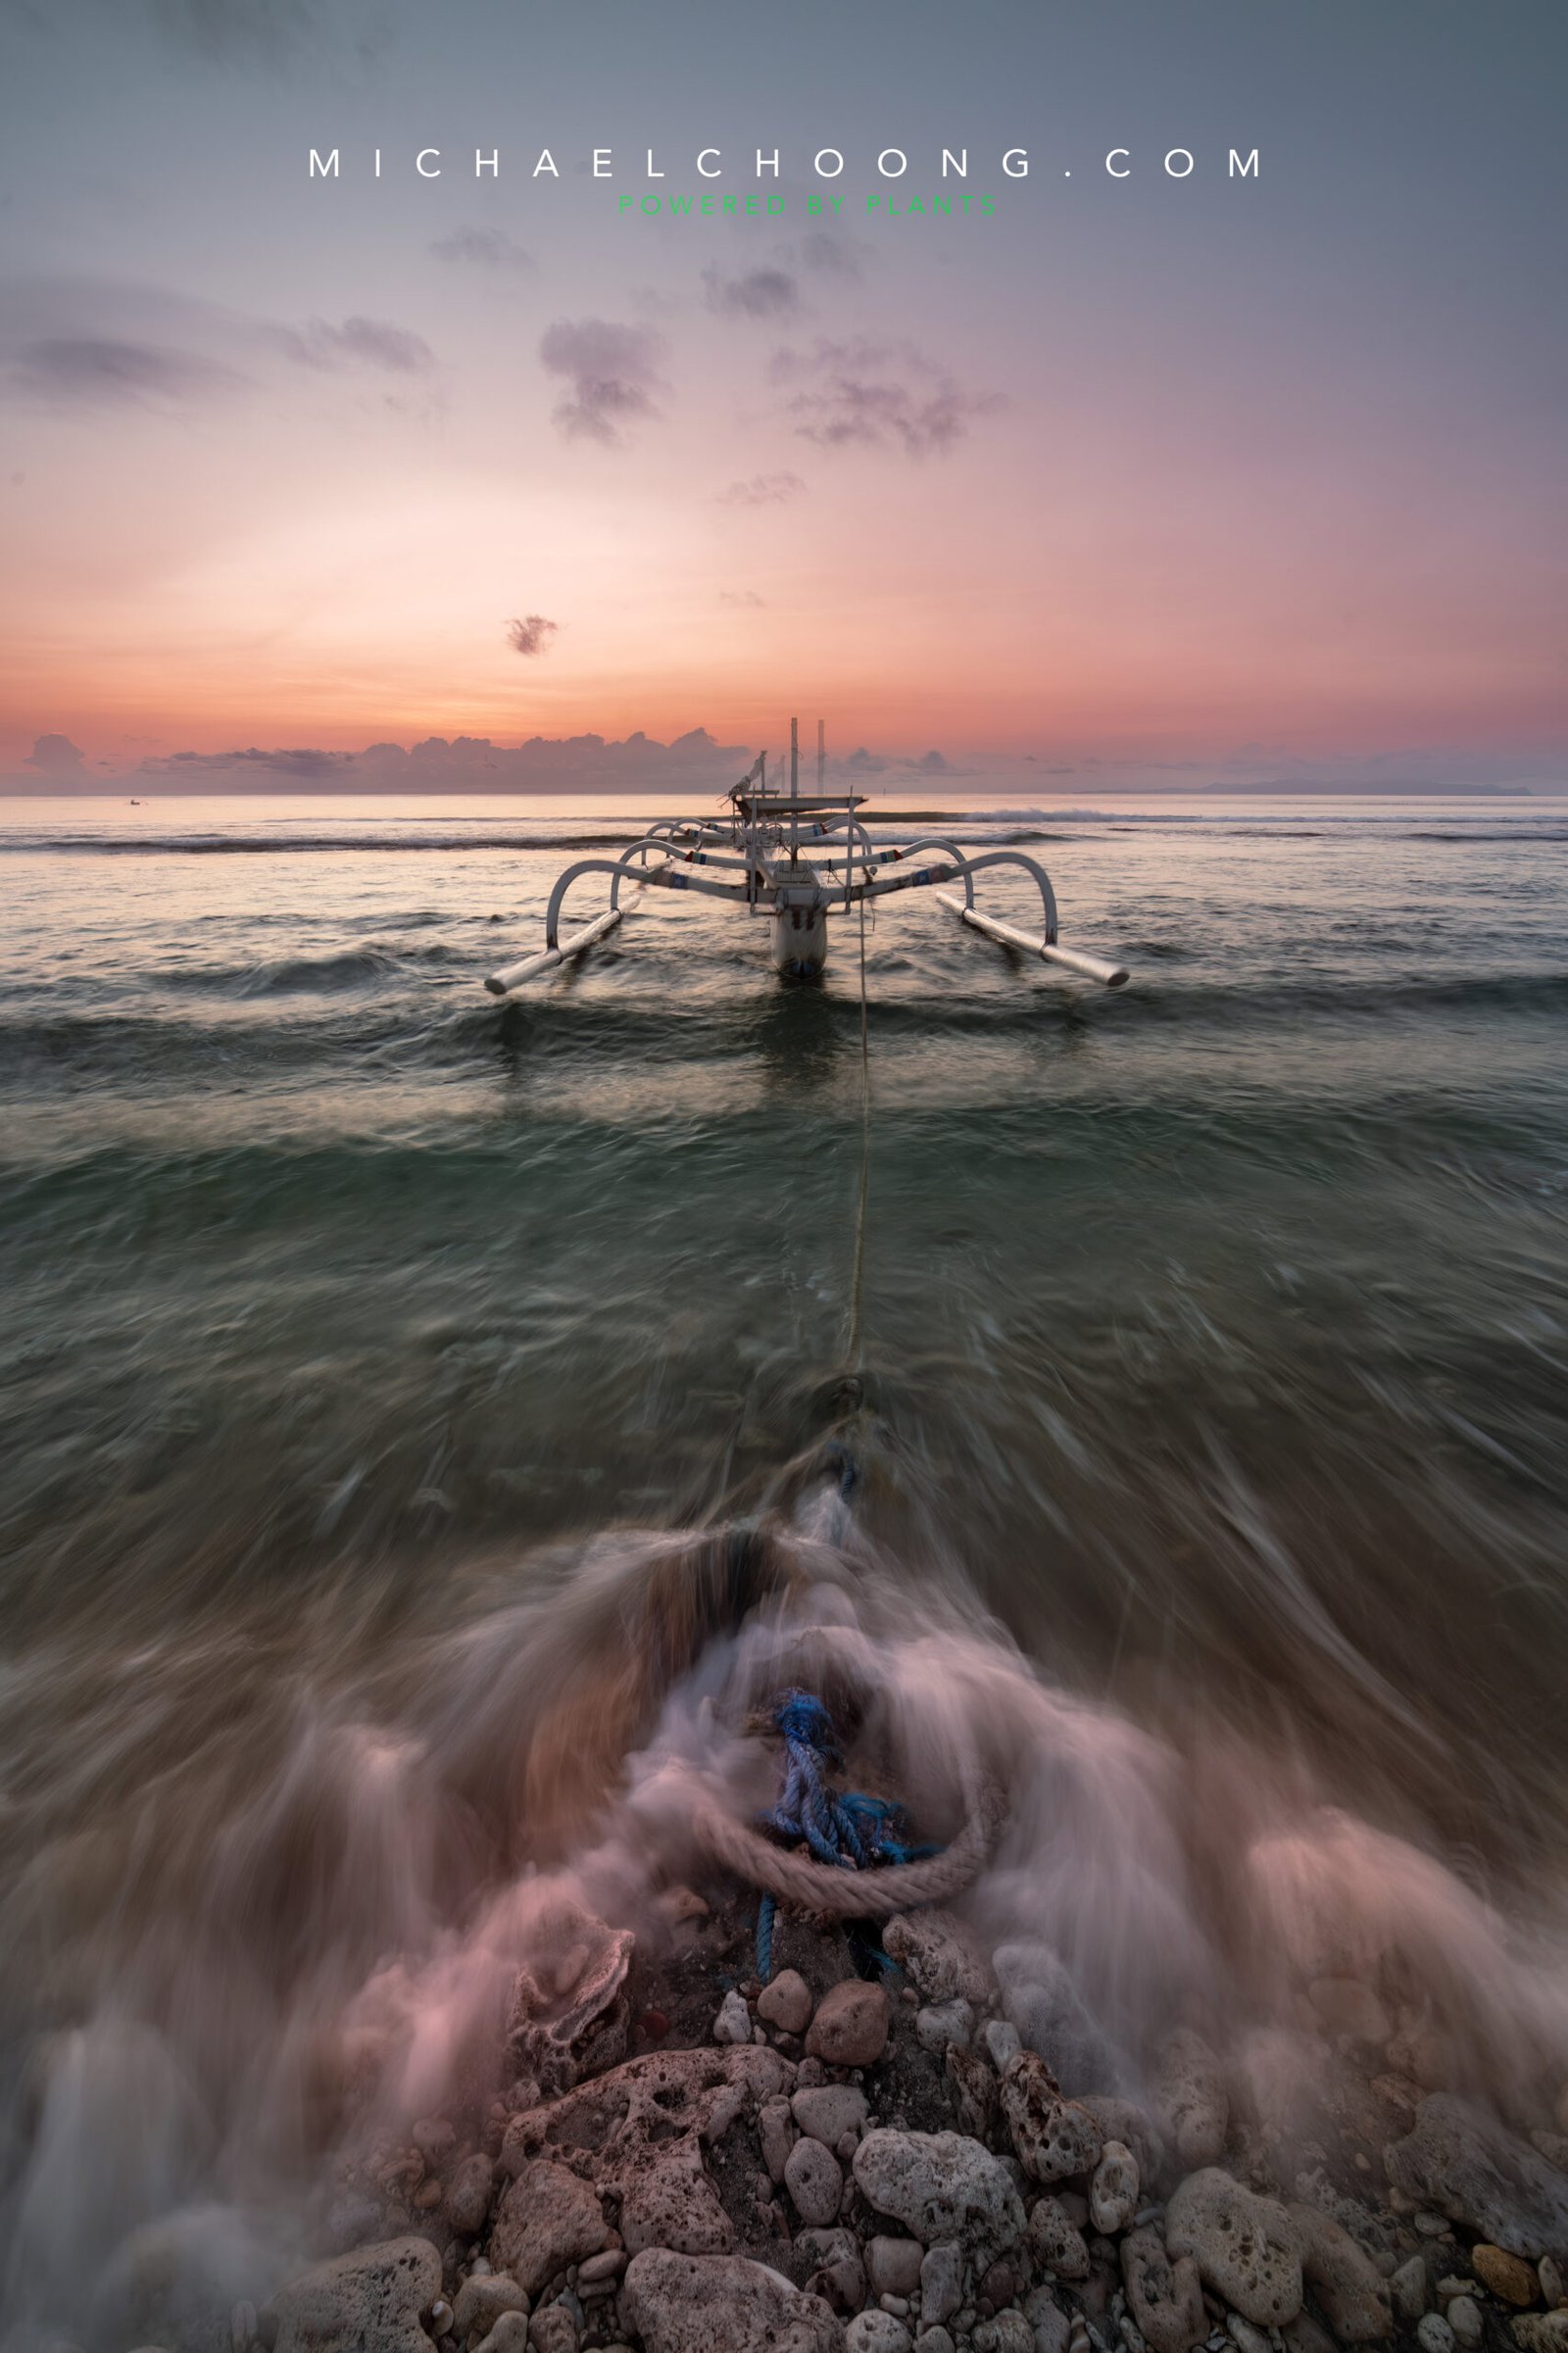
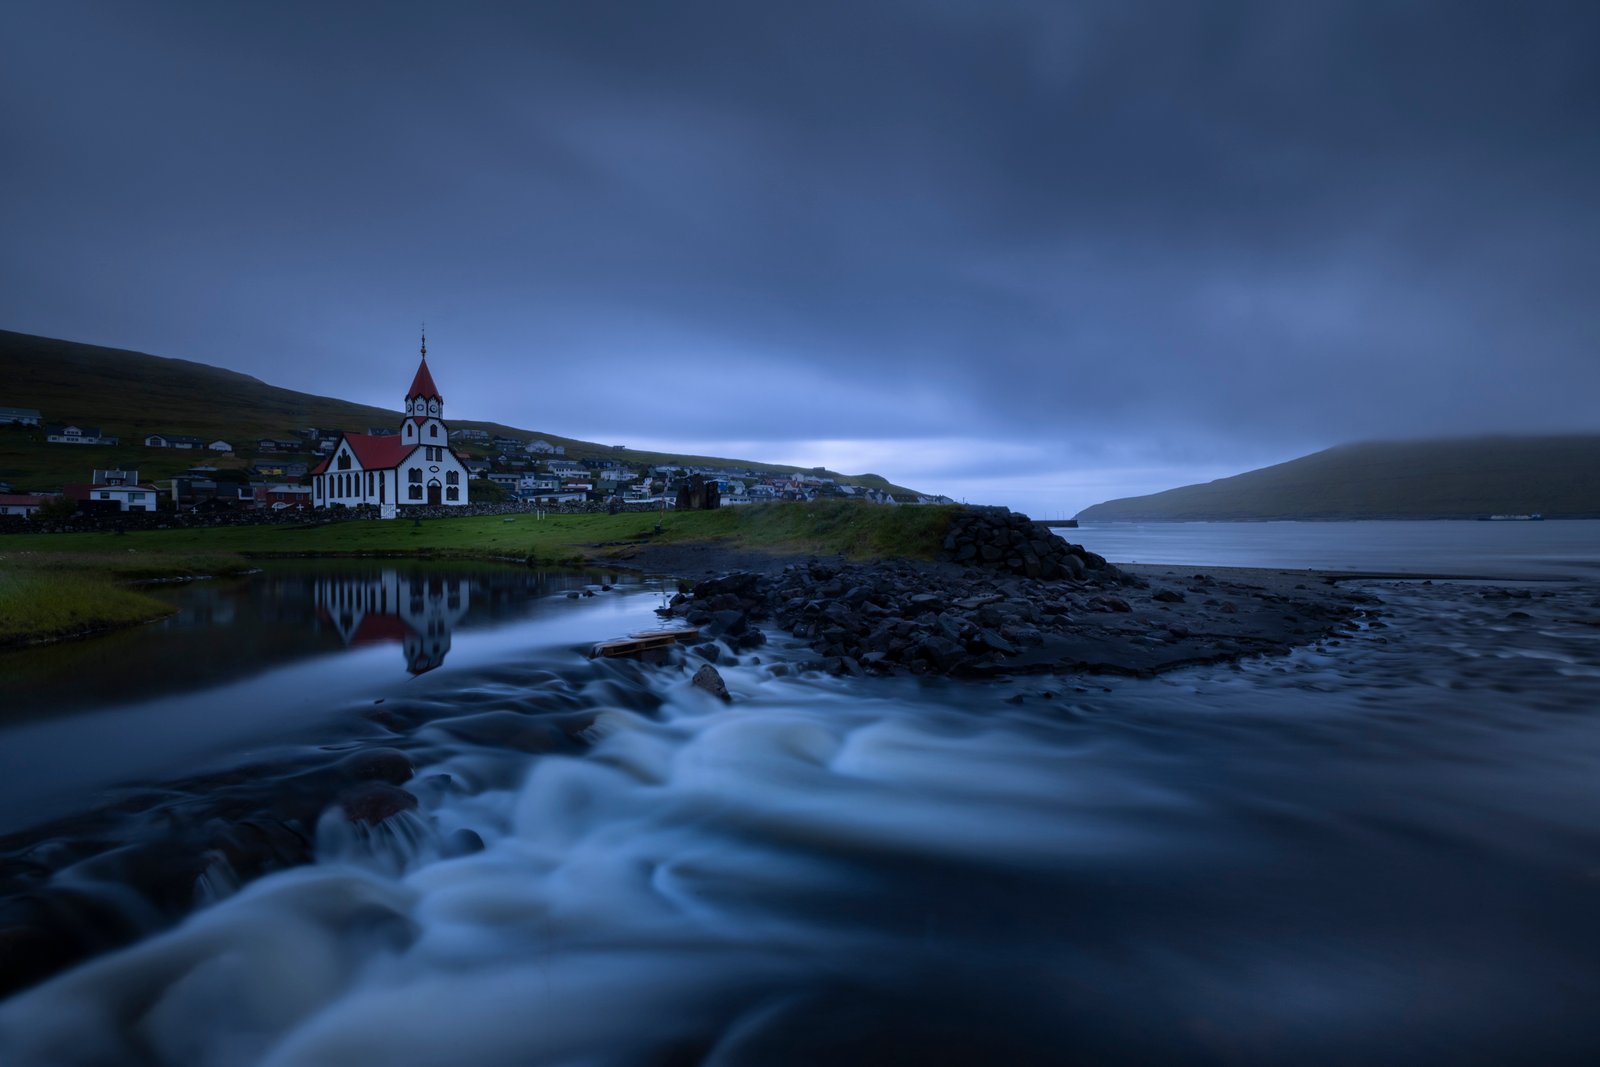
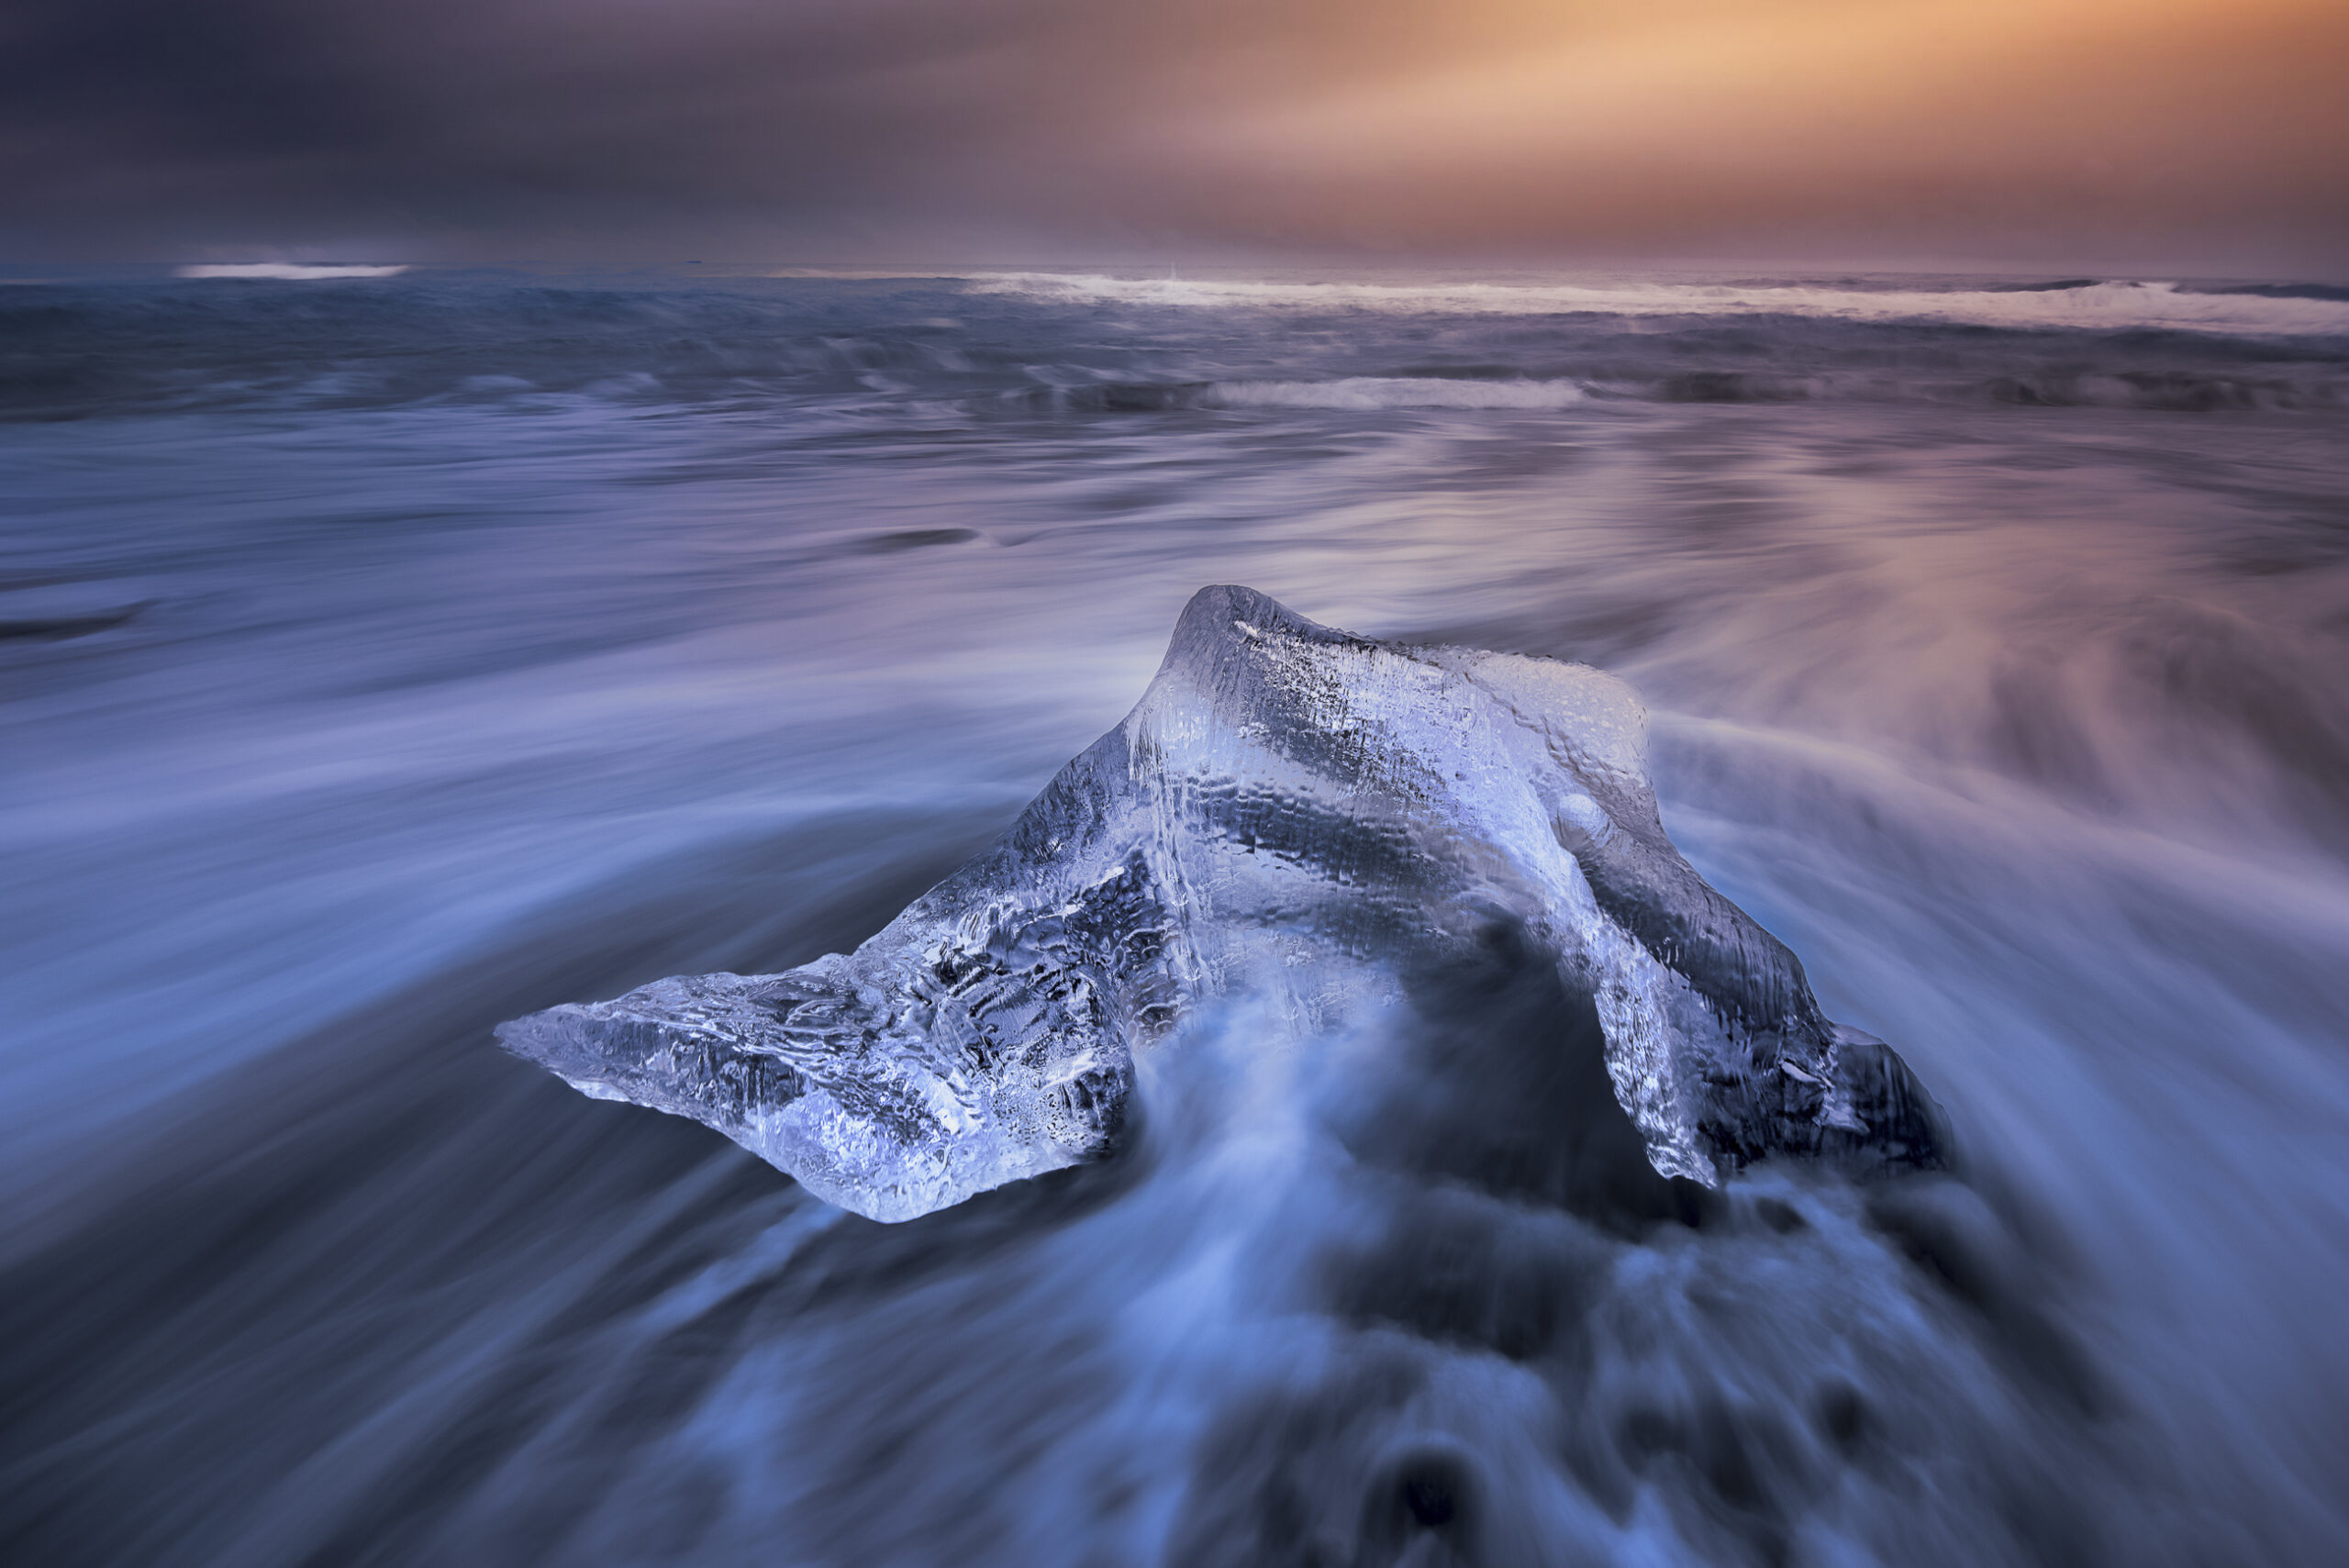
2. Mid Shutter (Texture & Movement)
Shutter speed: ~1/4 sec to 1 sec
This is my personal favourite range.
When to use:
- You want both motion AND texture
- To show direction of waves
- To create leading lines
What happens:
You still see the shape of the waves, but they stretch and flow — giving your image energy.
👉 Notice how the water wraps around the rope and rocks in the foreground — this creates a strong pull into the frame.
3. Fast Shutter (Frozen Power)
Shutter speed: 1/500 sec and above
This freezes the exact moment.
When to use:
- Big crashing waves
- Dramatic action
- Strong storytelling
What happens:
Every splash, droplet and detail is captured sharply.
How to Achieve These Shutter Speeds
In bright conditions (especially sunrise/sunset), it’s not always easy to slow your shutter.
This is where filters come in.
ND Filter (Neutral Density)
Think of this as sunglasses for your camera.
Why you need it:
- Reduces light entering the lens
- Allows slower shutter speeds even in daylight
Common ND strengths:
- ND8 / ND16 → slight control
- ND64 → good for mid shutter
- ND1000 (10-stop) → perfect for long exposure
👉 Without ND filters, achieving 1–10 seconds exposure in daylight is almost impossible.
GND Filter (Graduated ND)
This is especially useful for sunrise and sunset.
Why you need it:
- Balances bright sky and darker foreground
- Prevents overexposed skies
How it helps shutter speed:
By controlling highlights, you can expose longer without blowing out the sky.
👉 This gives you more flexibility to “paint” the waves the way you want.
Common Mistakes to Avoid
- Using too slow shutter → water becomes boring and flat
- No foreground → waves lose impact
- Overexposed sky → losing colours during sunrise/sunset
- Not timing the waves → pressing shutter at the wrong moment
💡 Pro Tips
- Watch the rhythm of waves before shooting
- Shoot multiple frames — every wave is different
- Use a tripod (very important for slower shutter)
- Combine strong foreground + leading lines for maximum impact
Final Thoughts
Waves are not just part of the scene — they are energy in motion.
Once you understand how to control shutter speed, you’re no longer just taking photos…
you’re painting with water.
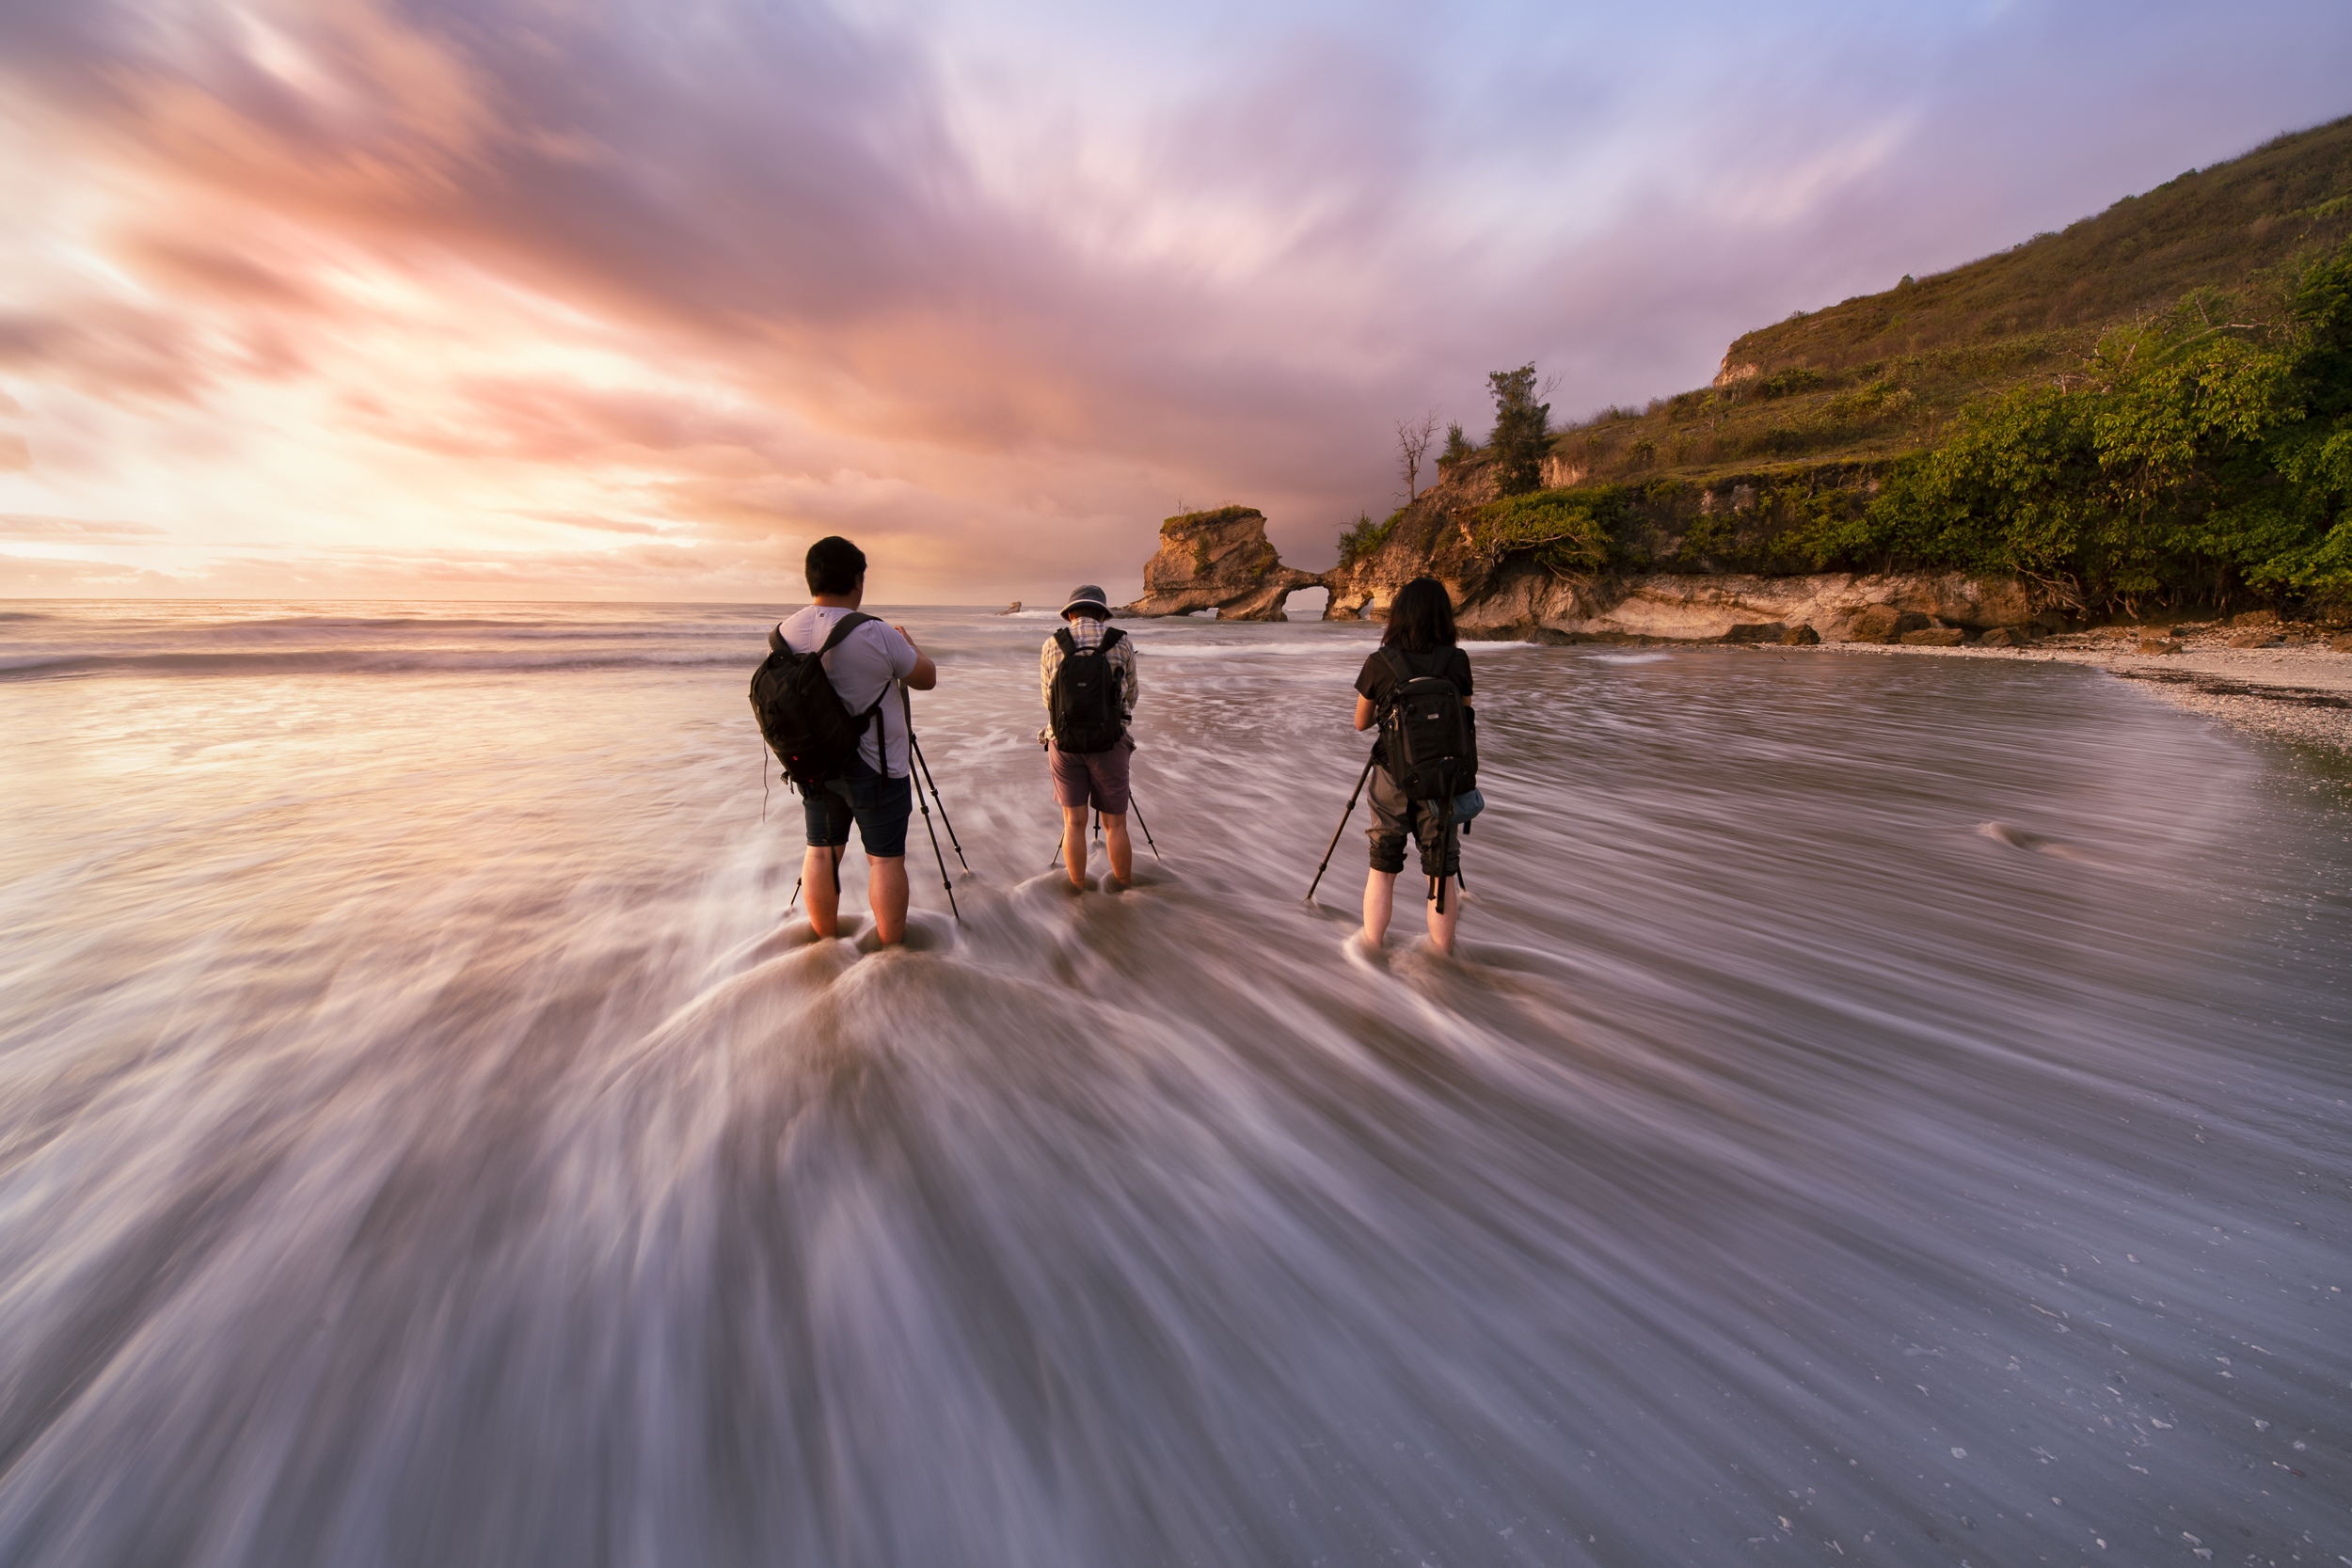
Want to Learn This in Real Locations?
If you’d like to master this technique and shoot in some of the most beautiful seascapes, I’d love to guide you personally.
Join my photo workshops in:
Indonesia • Malaysia • Europe • Arctic Circle (Lofoten, Norway)
👉 We’ll practise real-world techniques, composition, and how to create images like this consistently.