Time Blending Photography: Showing the Passing of Time in One Image
Last Wednesday, the sky did not look promising at all.
Around 6pm, Toa Payoh was hit by heavy rain. For a moment, I thought many would stay home, have dinner, and give the outing a miss.
But 17 friends still turned up. That made me very happy.
Not because we had perfect weather. We did not. But because everyone came with curiosity. Rain or shine, they were eager to try a new way of seeing and photographing.
And maybe that is what photography should be about.
Not just chasing perfect conditions, but learning how to respond when the scene changes.
This week, we explored time blending.
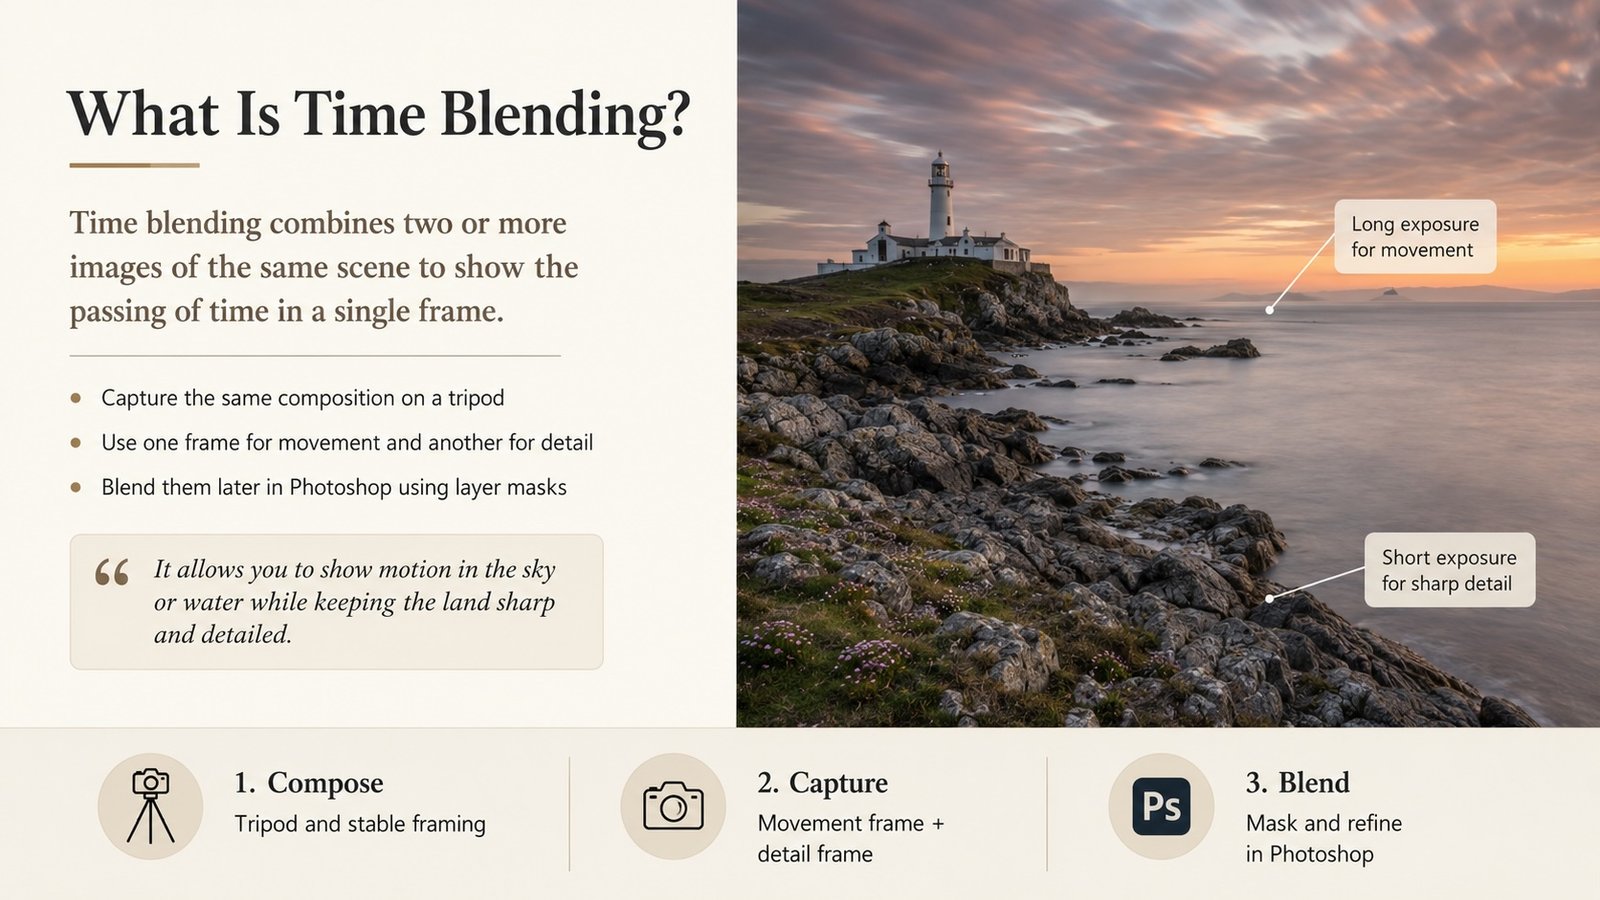
What Is Time Blending?
Time blending is a way of combining different moments into one final photograph.
Instead of taking one photo and hoping everything is perfect, we take several photos of the same scene over a period of time.
Each photo captures something different.
One frame may have better light.
Another frame may have cleaner traffic trails.
Another may have people in a better position.
Another may have a better sky.
Later, we bring these images together in Photoshop and blend the best parts into one final image.
The idea is simple.
We are not just photographing a place.
We are photographing time passing through that place.
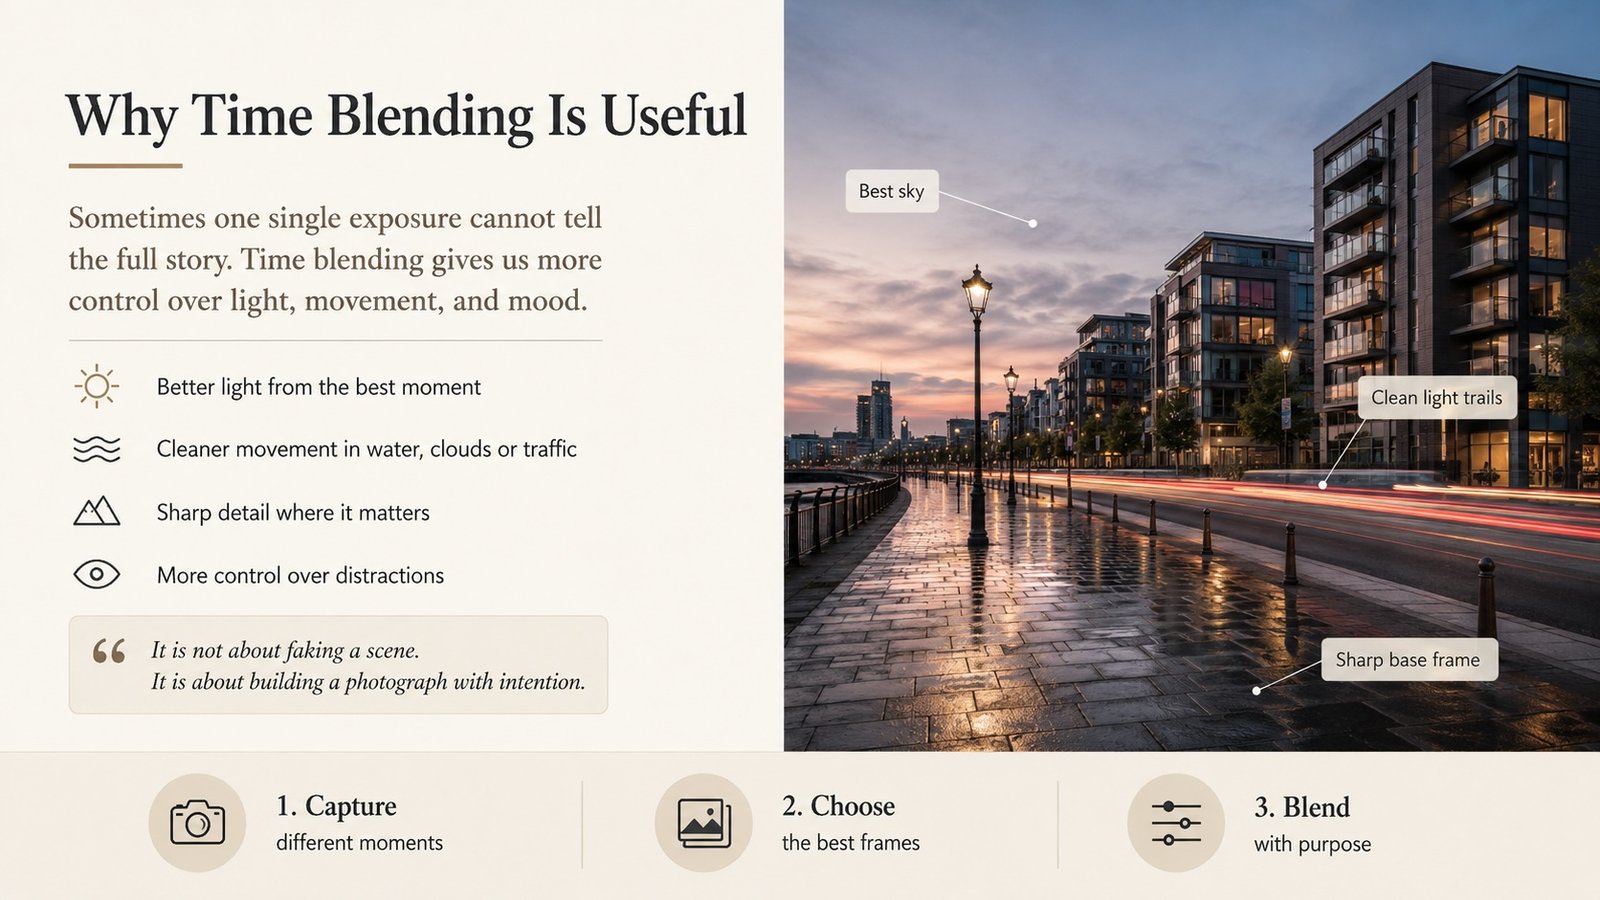
Why Time Blending Is Useful
Sometimes one single exposure cannot tell the full story.
The light may be beautiful for only a few seconds.
The sky may change quickly.
People may walk through your frame.
Cars may pass at the wrong moment.
The scene may feel alive, but one photo may feel too flat or incomplete.
Time blending gives us more control.
We can decide what to keep, what to remove, and what moment best supports the final image.
This is not about faking a scene.
It is about building a photograph with intention.
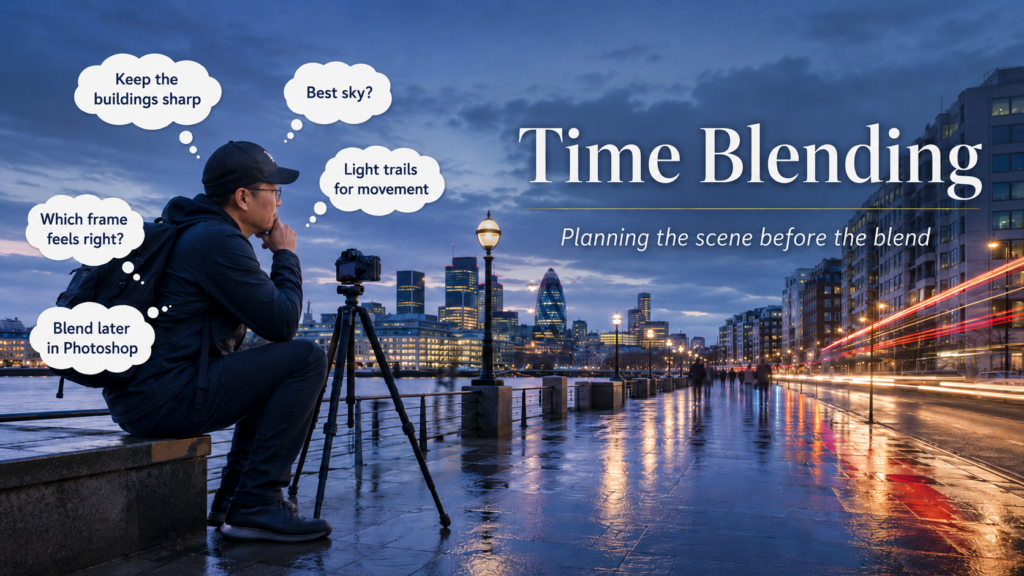
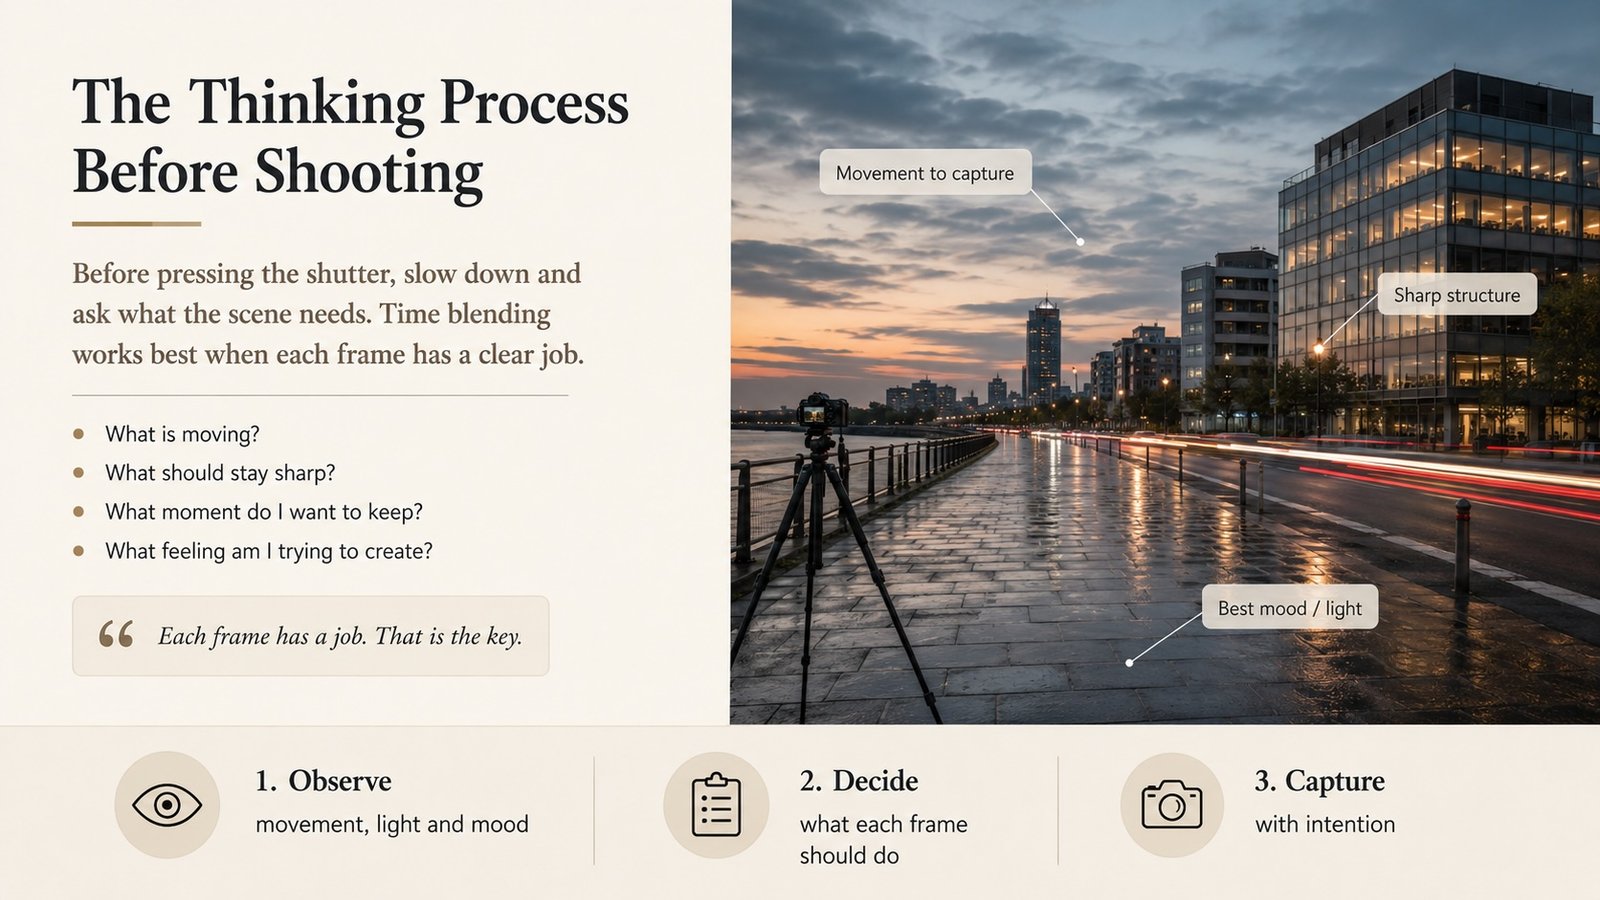
The Thinking Process Before Shooting
Before pressing the shutter, I asked everyone to slow down and think.
What is moving in the scene?
What should stay sharp?
What moment do we want to keep?
What feeling are we trying to create?
These questions matter because time blending is not just taking many random photos.
You need a clear intention.
For example, you may want:
-
a clean base image with sharp buildings
-
a frame with better sky colour
-
a frame with nice traffic movement
-
a frame with people placed nicely
-
a frame without distracting movement
Each frame has a job.
That is the key.
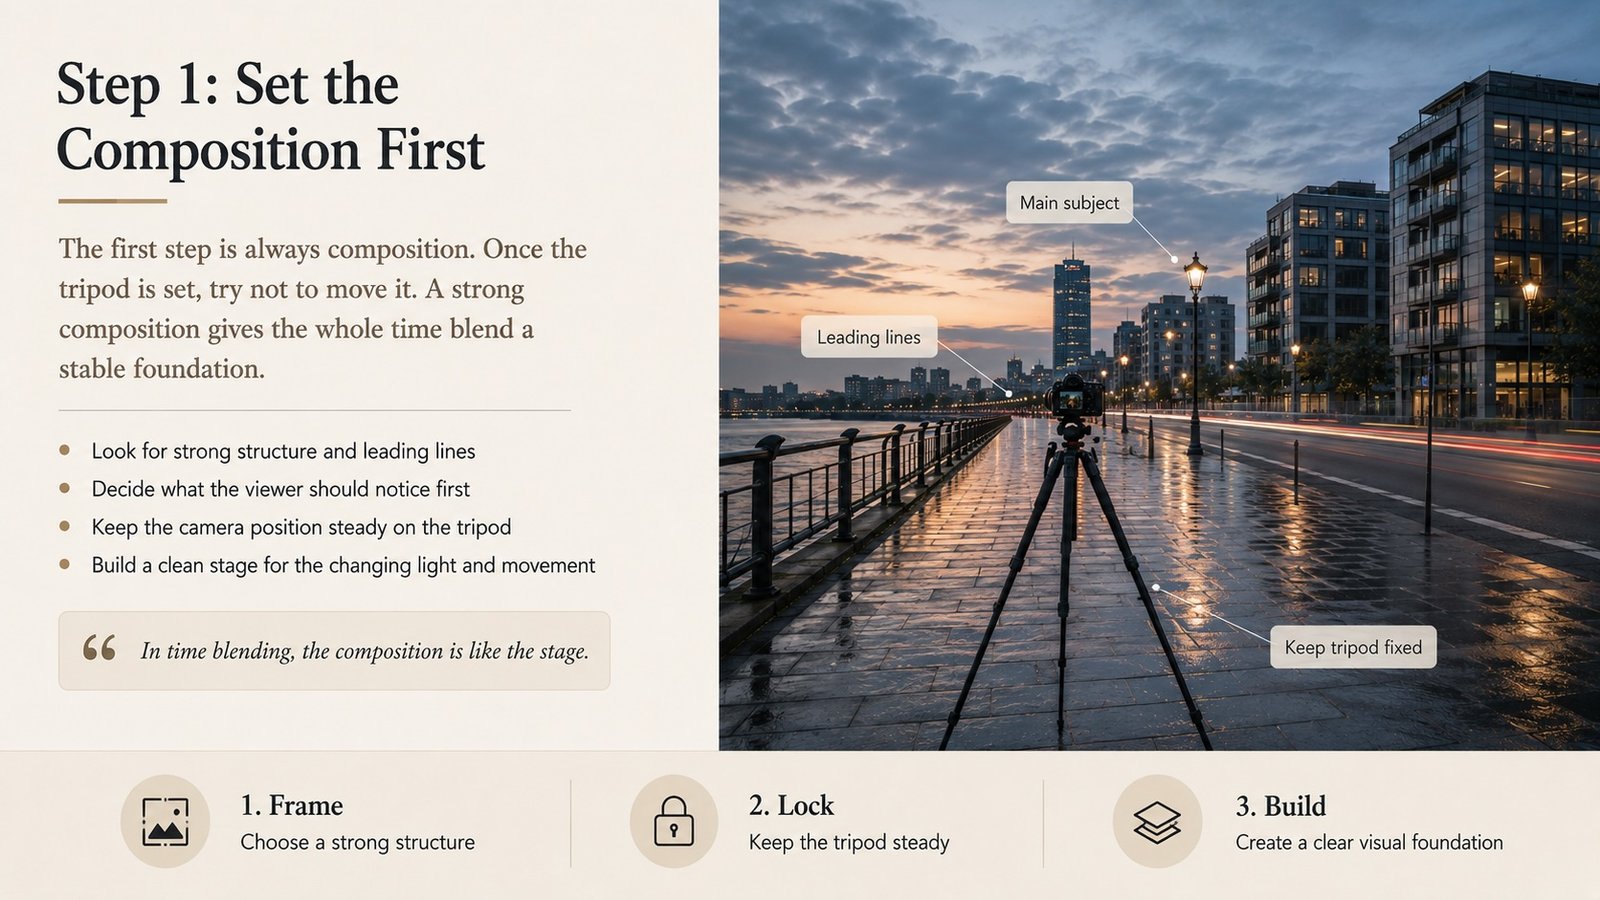
Step 1: Set the Composition First
The first step is always composition.
Once the tripod is set, try not to move it.
If the camera shifts too much between frames, blending later becomes harder.
I usually look for strong structure first.
Buildings, leading lines, roads, reflections, trees, or any shape that helps hold the image together.
In time blending, the composition is like the stage.
The changing light and movement are the actors.
If the stage is weak, the final image will still feel messy, no matter how well we blend it.
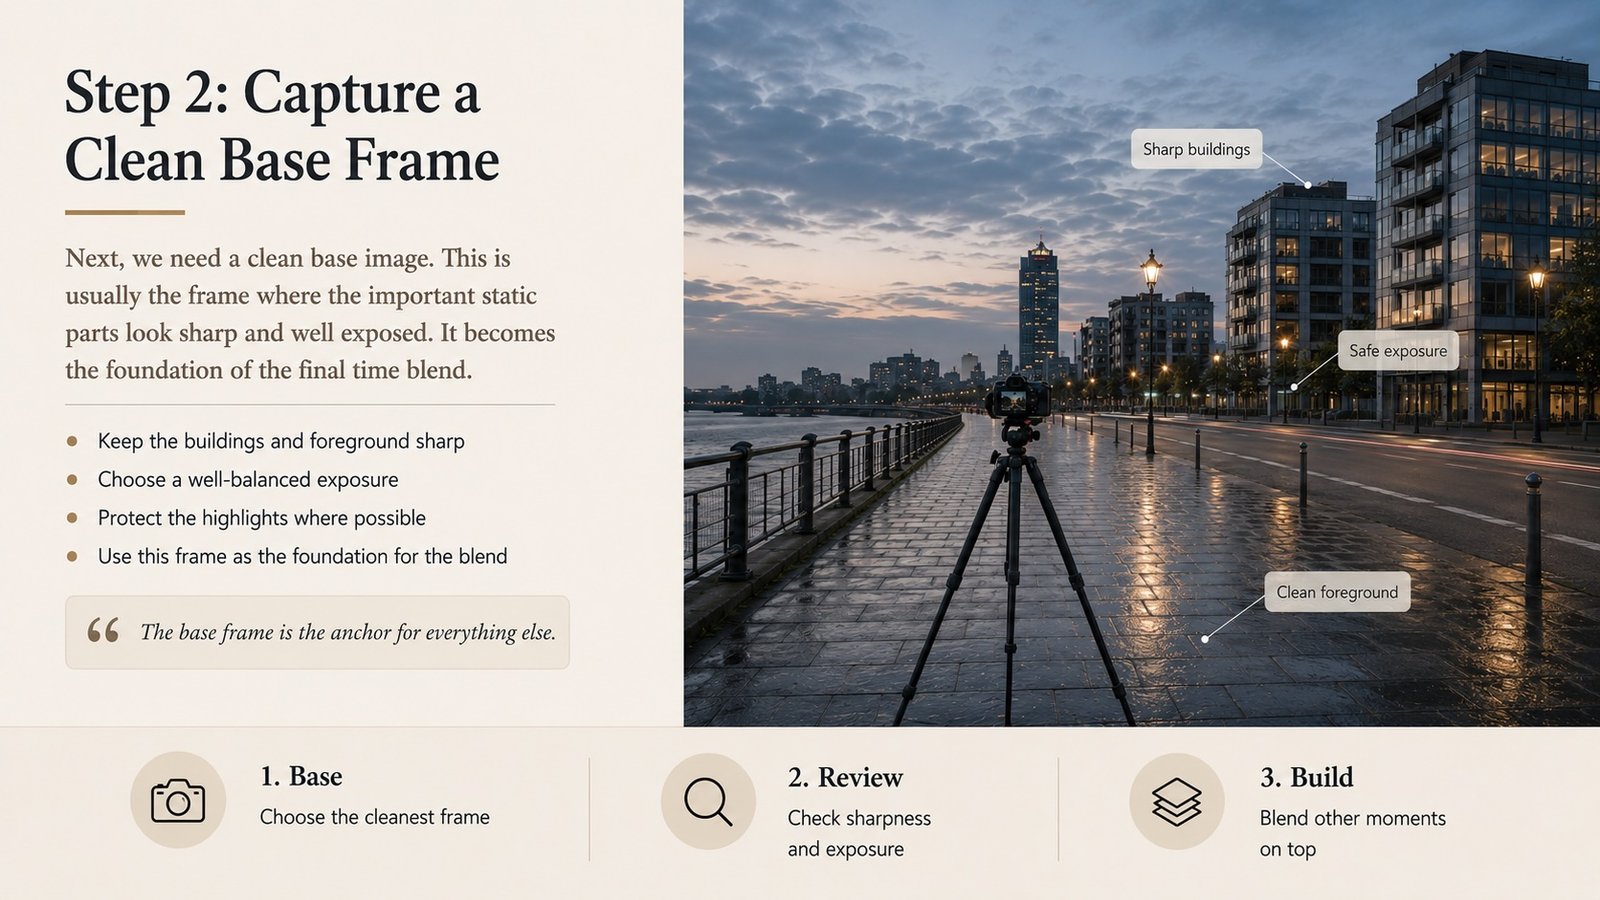
Step 2: Capture a Clean Base Frame
Next, we need a clean base image.
This is usually the frame where the important static parts look sharp and well exposed.
Buildings should be clear.
The foreground should be sharp.
The overall exposure should be safe, especially the highlights.
This base frame becomes the foundation of the final image.
Everything else is added carefully on top.
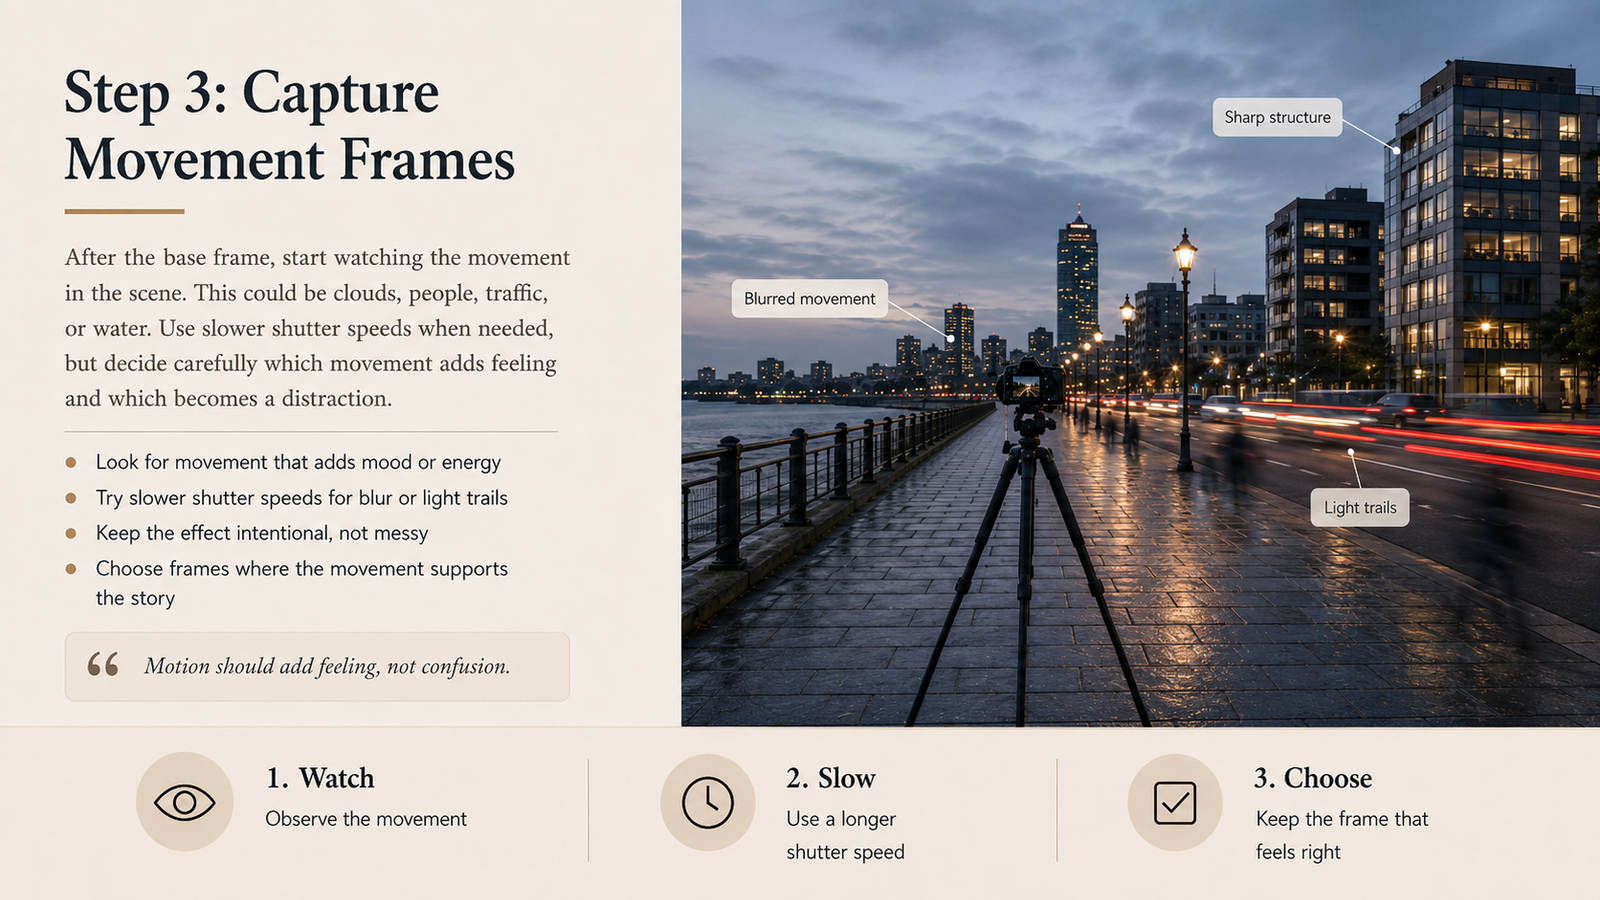
Step 3: Capture Movement Frames
After the base frame, we start watching the movement.
This could be clouds, people, vehicles, water, or light changing across the scene.
For movement, we may use slower shutter speeds.
A longer exposure can soften moving clouds, smooth water, or create light trails from vehicles.
But we need to be careful.
If everything becomes too blurred, the image may lose structure.
So we need to decide which part of the movement adds feeling, and which part becomes distraction.
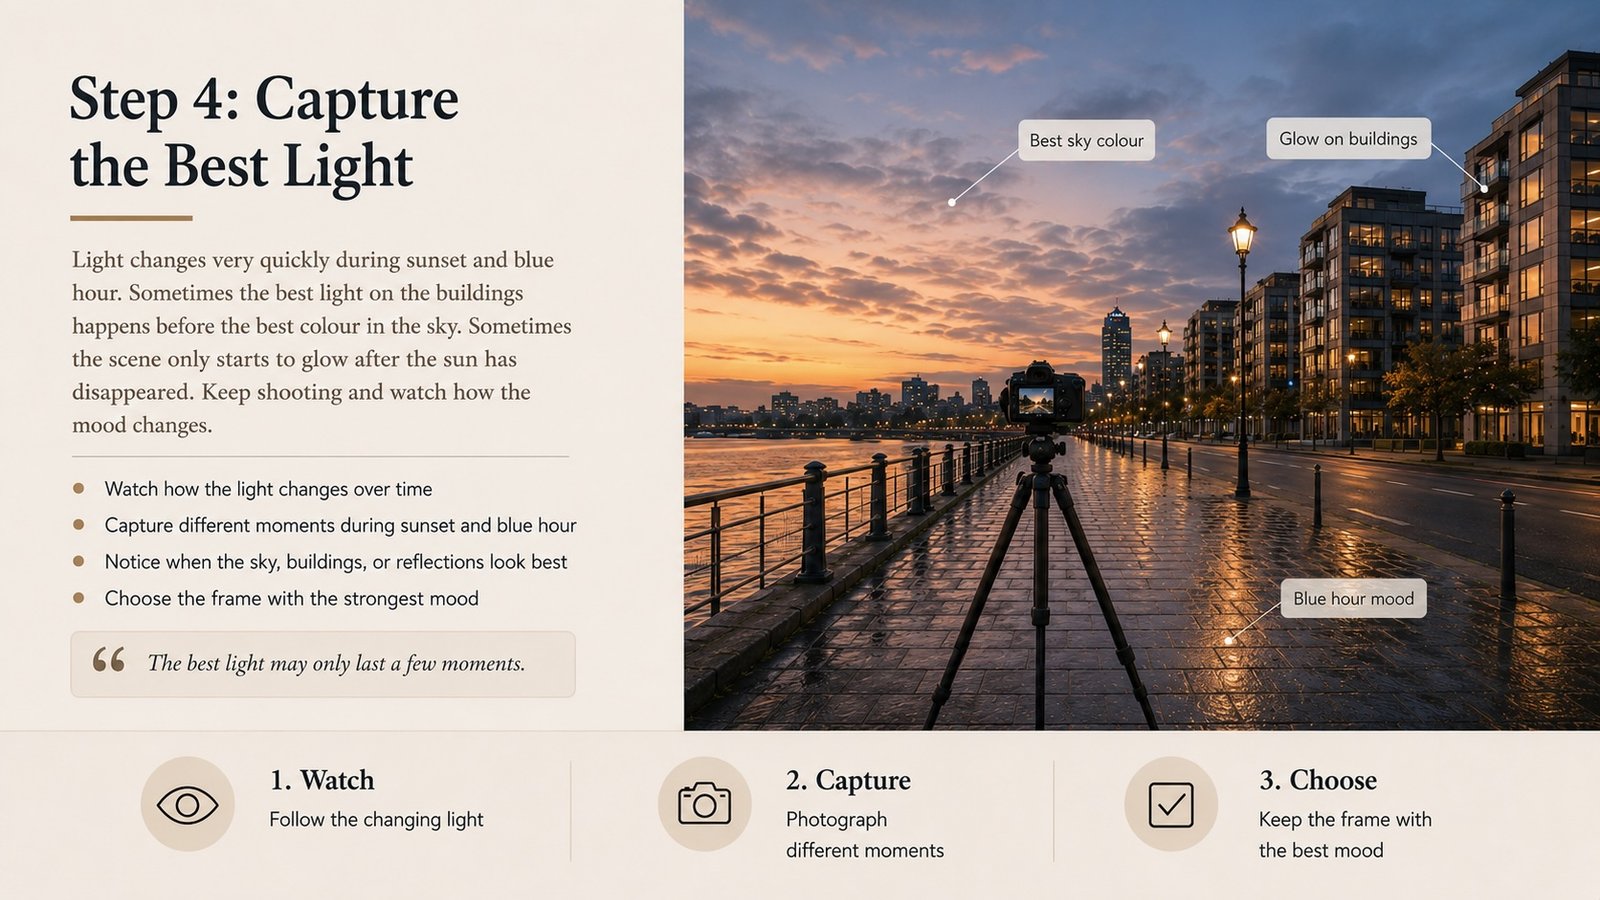
Step 4: Capture the Best Light
Light changes very quickly during sunset and blue hour.
Sometimes the best light on the building happens before the best colour in the sky.
Sometimes the foreground looks good only a few minutes later.
Sometimes the scene only starts to glow after the sun has disappeared.
That is why time blending works so well.
We do not need to force everything into one single frame.
We can capture the best version of each moment and decide later which ones belong together.
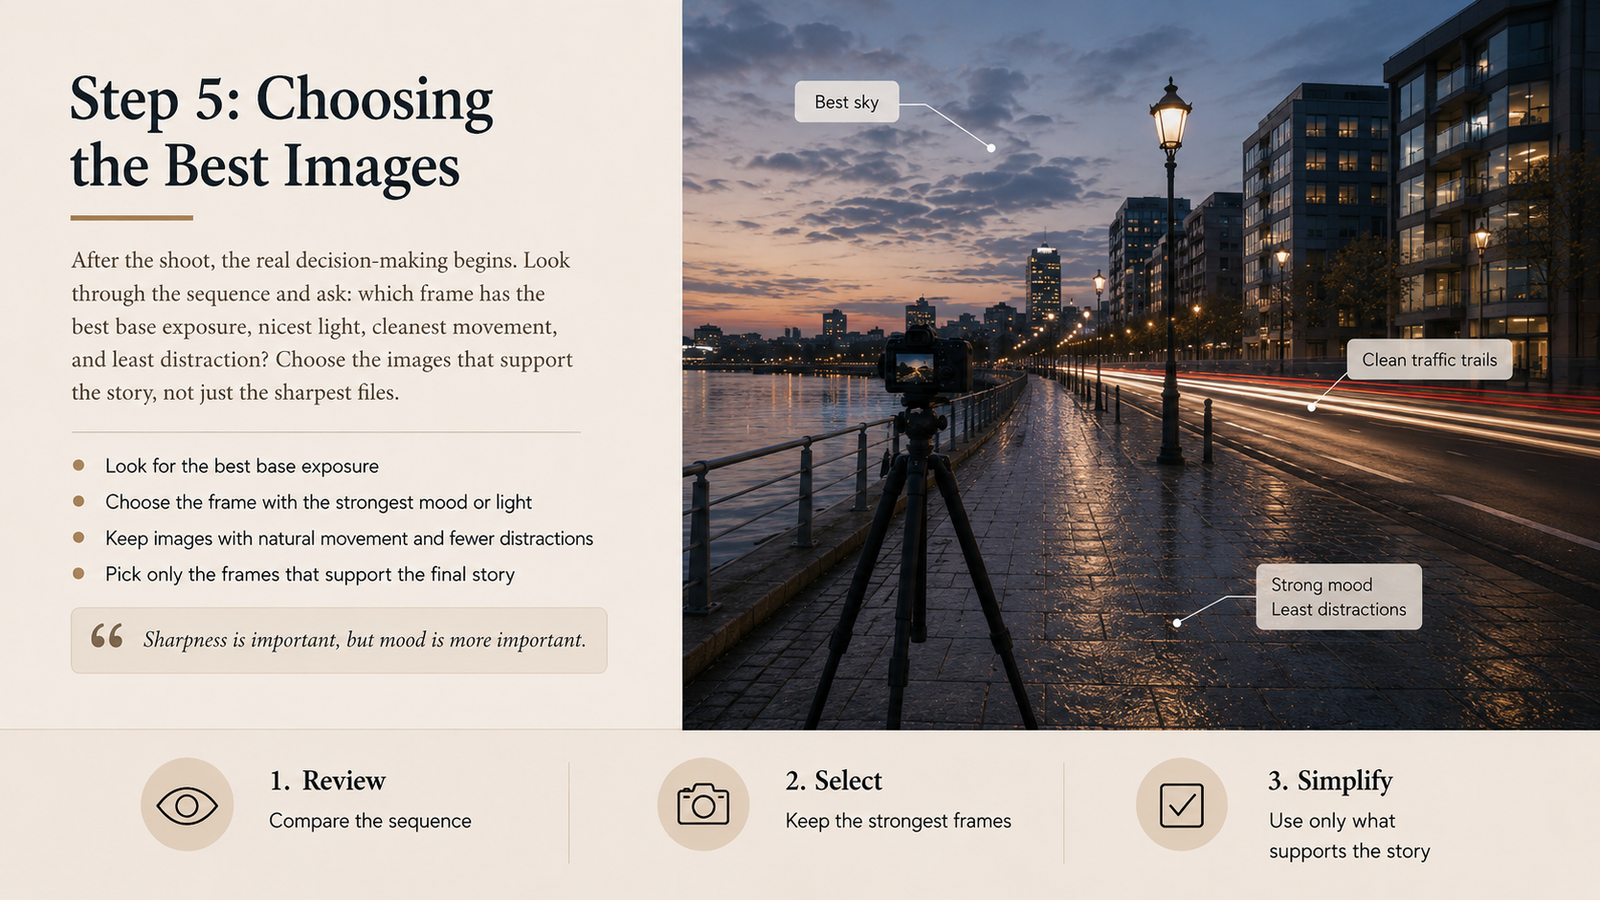
Step 5: Choosing the Best Images
After the shoot, the real decision-making begins.
In Lightroom, I usually look through the whole sequence and ask:
Which image has the best base exposure?
Which frame has the nicest light?
Which movement feels natural?
Which frame has the least distraction?
Which moment supports the story?
I do not choose images just because they are sharp.
Sharpness is important, but mood is more important.
A technically perfect frame can still feel boring.
A slightly imperfect frame with better feeling may be stronger.
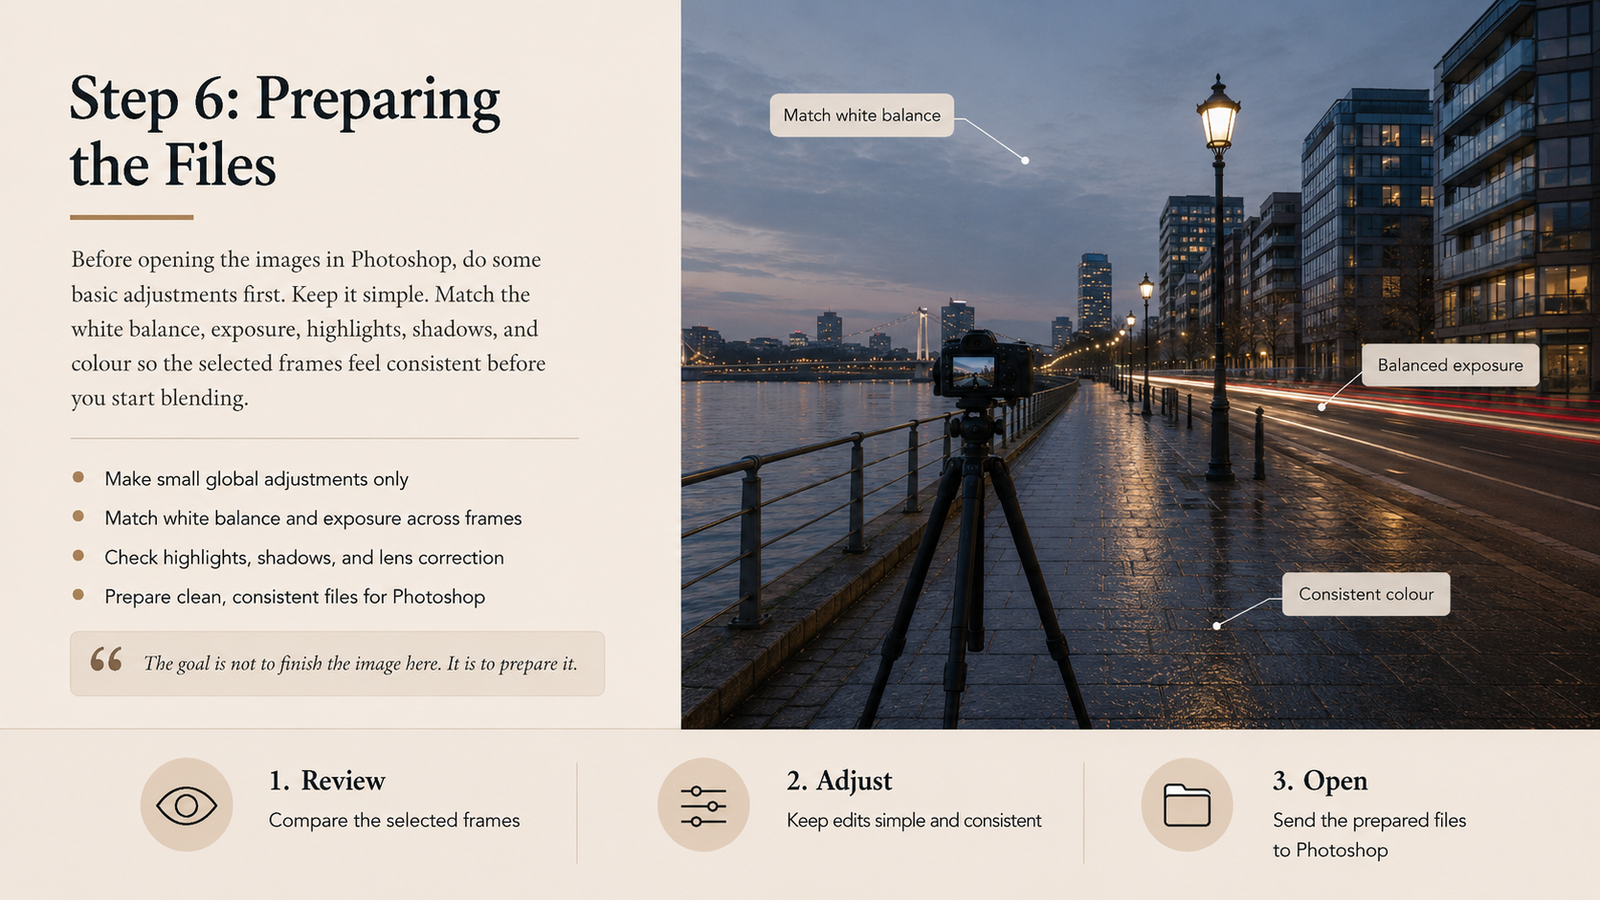
Step 6: Preparing the Files
Before opening the images in Photoshop, I usually do basic adjustments in Lightroom.
Nothing too heavy.
I may adjust:
-
white balance
-
exposure
-
highlights
-
shadows
-
lens correction
-
basic contrast
-
colour balance
The important thing is to make sure the images feel consistent before blending.
If one frame is too warm and another is too cool, the final blend may look unnatural.
Keep it simple.
The goal is not to finish the image in Lightroom.
The goal is to prepare clean files for Photoshop.
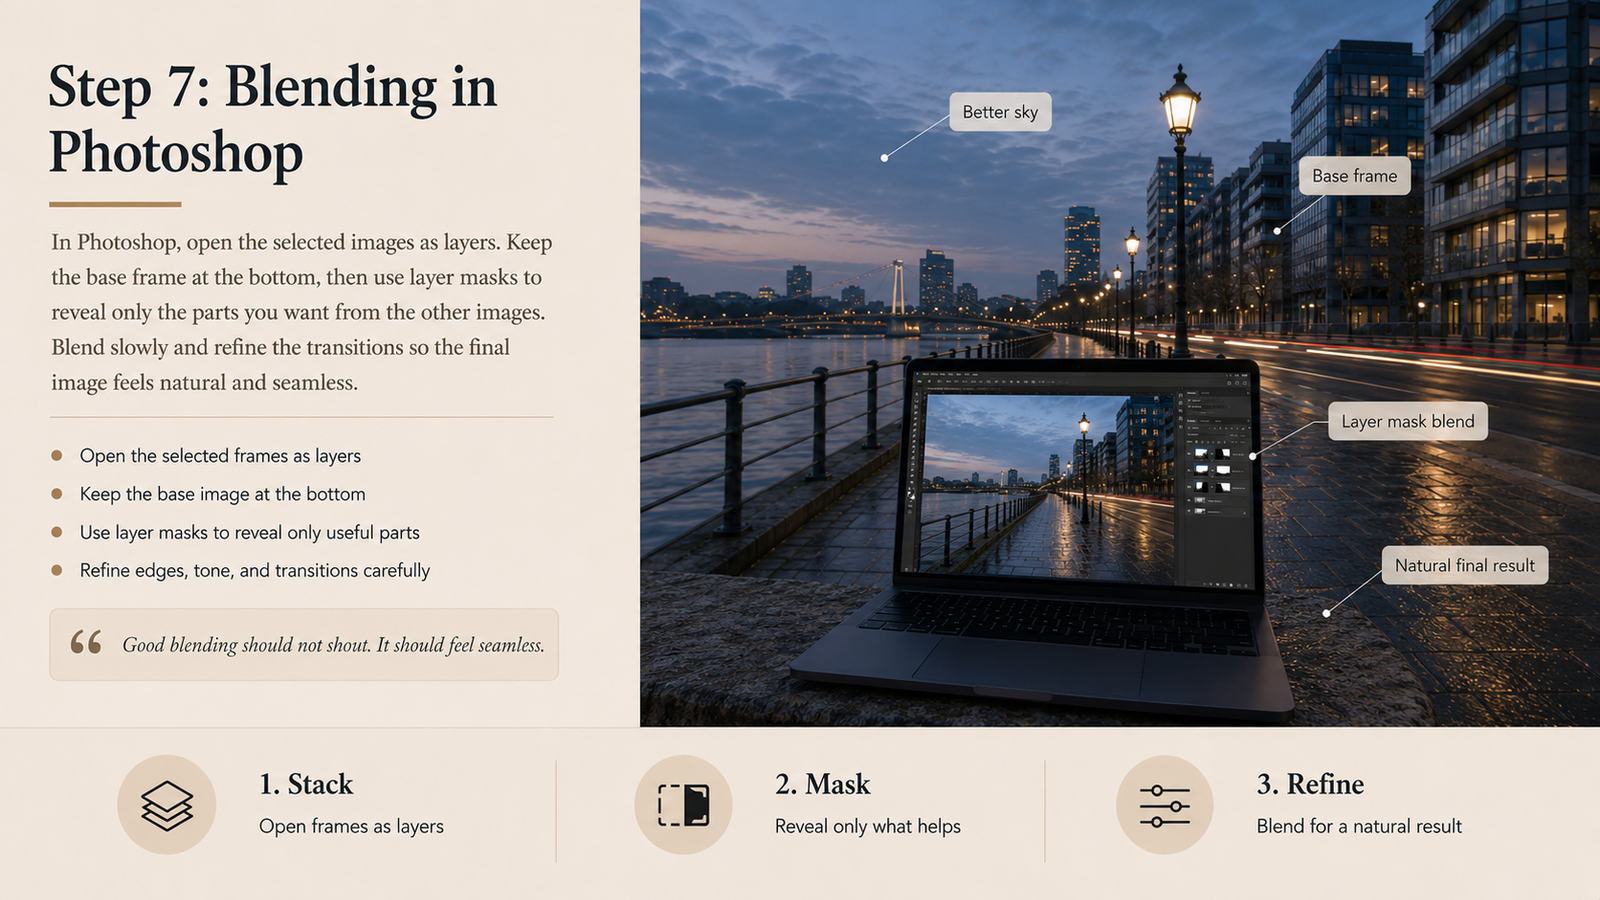
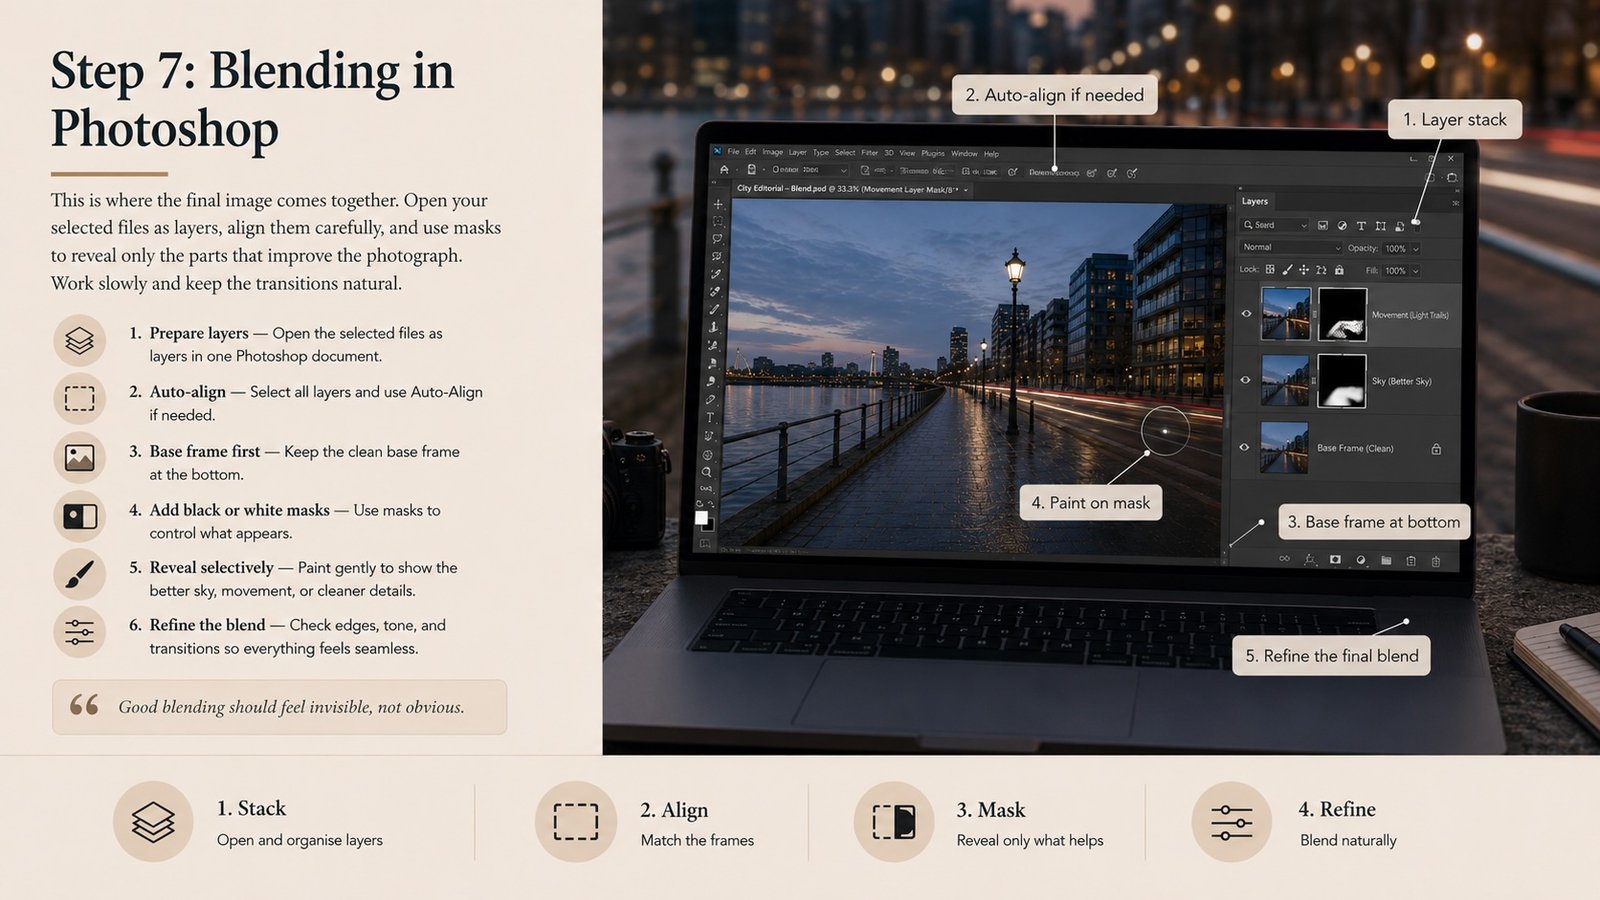
Step 7: Blending in Photoshop
In Photoshop, we open the selected images as layers.
The base image usually sits at the bottom.
Then we place the other frames above it.
Using layer masks, we slowly reveal only the parts we want.
For example:
-
reveal the better sky from one frame
-
reveal the smoother movement from another frame
-
reveal cleaner foreground details from the base frame
-
hide distracting people or unwanted blur
This is where patience matters.
Good blending should not shout.
If people can immediately see where the image was blended, it usually means the mask is too harsh or the transition is not natural.
The best blend feels quiet.
Everything should look like it belongs in the same moment, even though it was built from several moments.
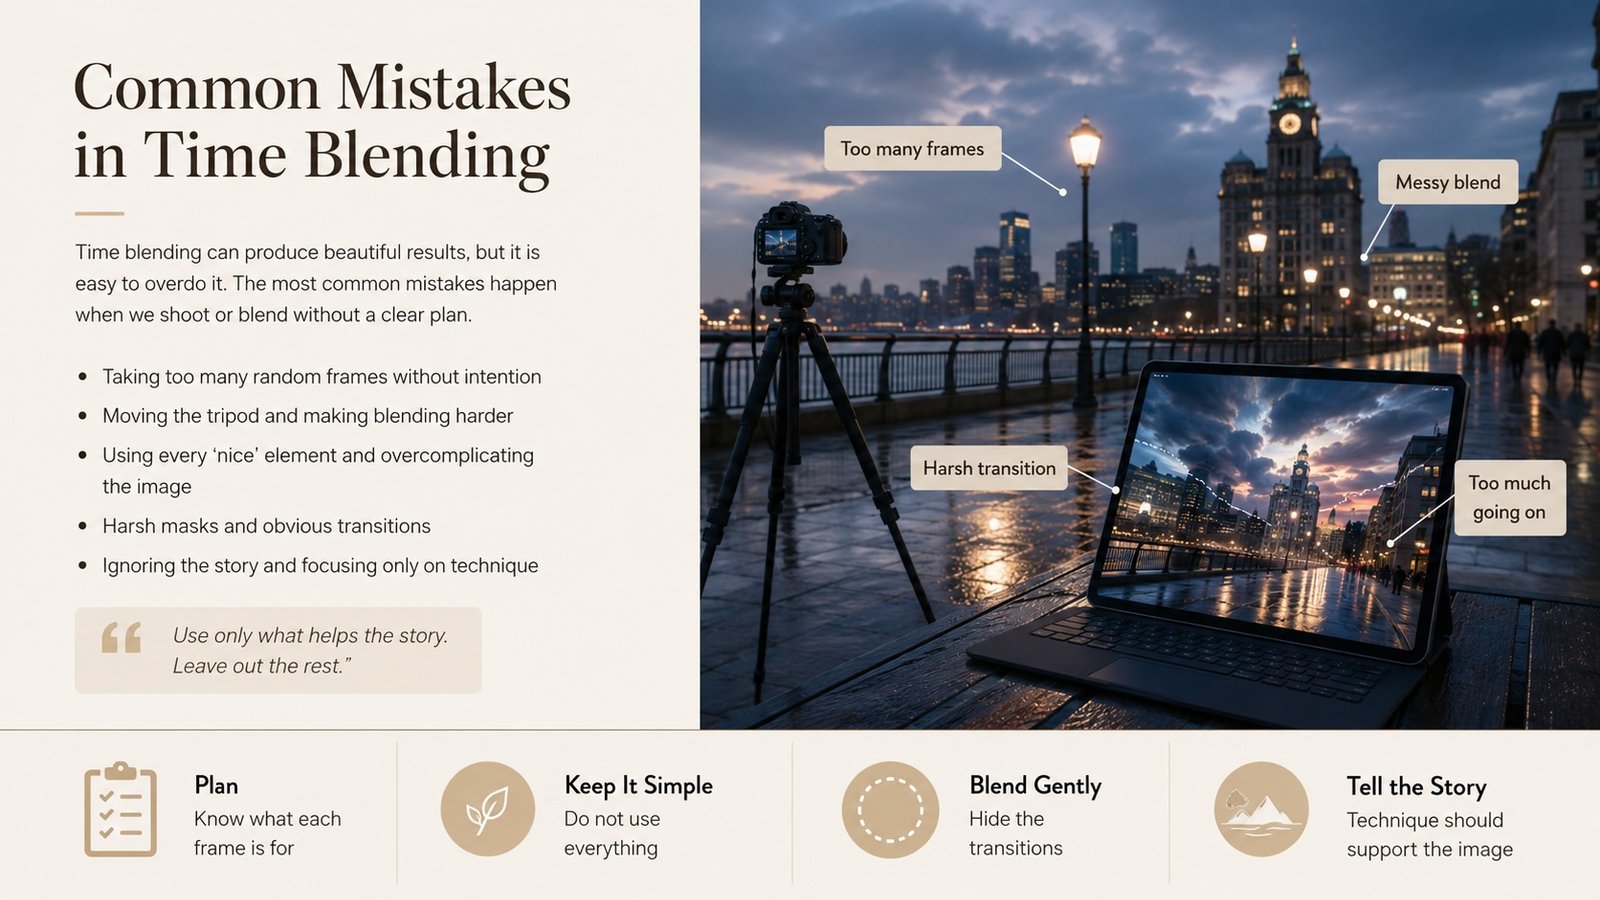
Common Mistakes in Time Blending
The most common mistake is taking too many images without a plan.
More photos do not always mean a better result.
Another mistake is blending too much.
Sometimes we get excited and start using every nice part from every photo.
The final image then becomes confusing.
The viewer does not know where to look.
The best time blend still needs simplicity.
Use only what helps the story.
Leave out the rest.
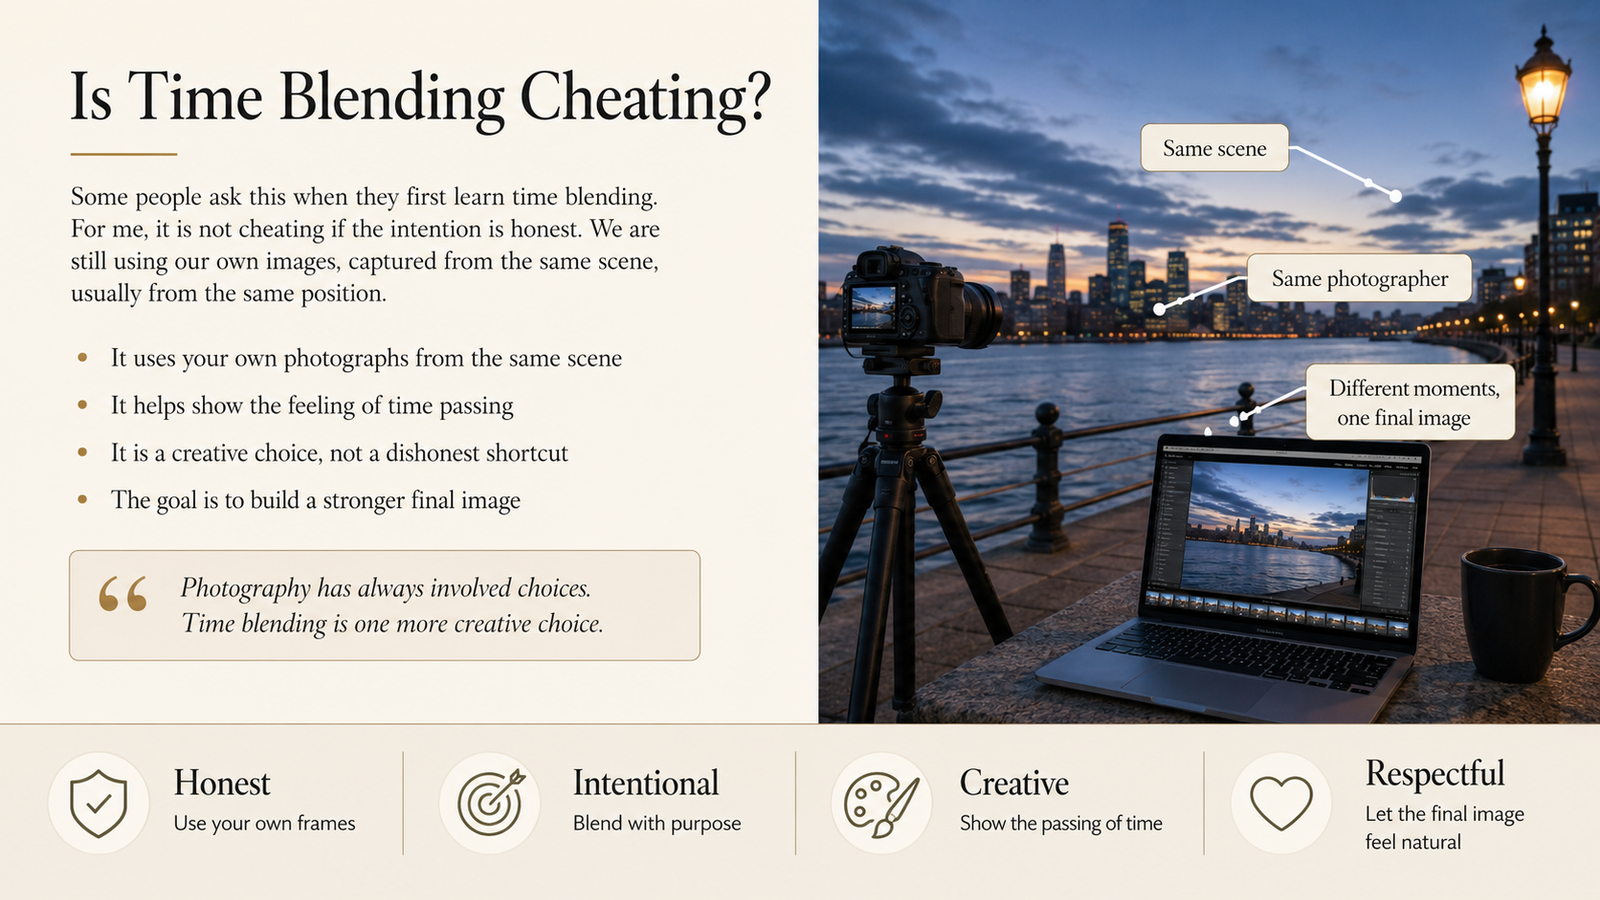
Is Time Blending Cheating?
Some people may ask this.
For me, time blending is not cheating if the intention is honest.
We are still using our own images, captured from the same scene, usually from the same position.
We are not randomly adding a sky from another country or creating something unrelated.
We are simply showing the feeling of time passing.
Photography has always involved choices.
Where to stand.
When to shoot.
What shutter speed to use.
How to edit.
Time blending is just another creative choice.
What I Enjoyed Most
What I enjoyed most last Wednesday was not the final images.
It was seeing everyone try.
Even with the rain, people still came, set up their tripods, asked questions, tested different shutter speeds, and started thinking beyond one single exposure.
That is a good sign.
It means we are growing as photographers.
Not just by learning more techniques, but by becoming more observant.
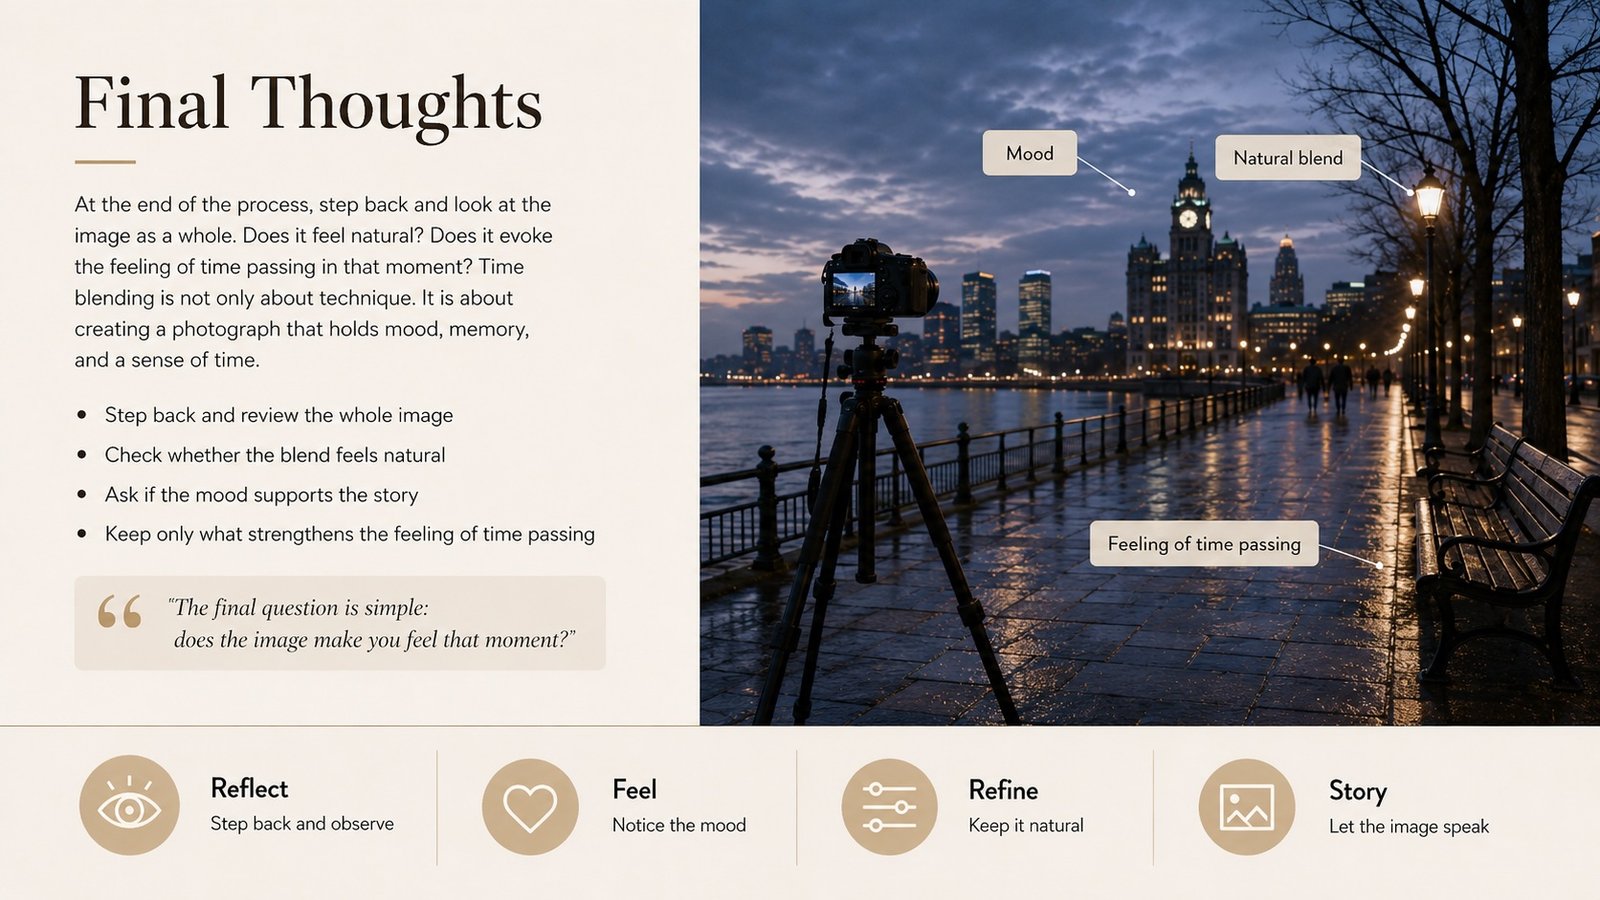
Final Thoughts
Time blending is not something we master in one outing.
It takes practice.
You need to learn how to shoot with the final edit in mind.
You need to think about layers before opening Photoshop.
You need to understand what each frame is supposed to contribute.
But once you understand the process, it becomes a very powerful way to tell a richer story.
A single photograph can freeze a moment.
A time blend can hold several moments together.
And sometimes, that is exactly what the scene needs.
Thank you to all 17 friends who came despite the heavy rain.
It was wonderful to see everyone healthy, happy, and willing to try something new.
See you at the next outing and Happy shooting!